
The first week with a teen e-bike should not be about how far your child can ride. It should prove that your teen can repeat the basics when nothing dramatic is happening: start calmly, brake early, turn slowly, park without panic, push the bike when needed, and talk through the route afterward. One good ride is encouraging. A few steady days in a row are what start to build trust.
That difference matters because most teens want the bike to mean more freedom right away. Parents usually need proof that the freedom will not turn into rushed stops, shaky turns, missed instructions, or arguments about where the bike can go. A first-week practice plan gives both sides a cleaner path: your teen knows what they need to show, and you know what you are actually judging.
The First Week Is About Repeatable Control
The mistake is treating the first ride like a pass-or-fail test. A teen may look confident after ten minutes, especially if the route is empty and familiar. That does not yet show how they handle a driveway, a car backing out, a friend calling their name, a tight parking spot, or a last-second route change.
A better first-week goal is repeatable control. Can your teen do the same calm start several times? Can they stop before the line instead of right on it? Can they turn slowly without wobbling? Can they park the bike without dropping it or blocking a walkway? These are ordinary skills, but they are the skills that make short neighborhood rides feel trustworthy.
If you are still deciding whether your child is ready for the bike at all, start with the teen e-bike readiness checklist. This page is the next step: what to do after the bike is already at home and your teen wants to ride it for real.

Day 1: Set Up the Bike and Lower the Pressure
The first day should feel almost too simple. Use a quiet driveway, empty lot, or low-pressure space. The goal is not to impress anyone. The goal is to make the bike feel predictable before your teen is dealing with traffic, friends, school racks, or a real route.
Check Fit, Brakes, and Handling Before Distance
Before sending your teen down the street, check the basics together: seat comfort, handlebar reach, brake feel, display visibility, kickstand use, and whether the bike can be pushed and turned around while off the motor. NHTSA's bicycle safety guidance also points riders toward a safe, traffic-free practice area and a basic check that the bike fits and the brakes work before riding. That is the right starting mindset for an e-bike too. The official reference is here: NHTSA bicycle safety guidance.
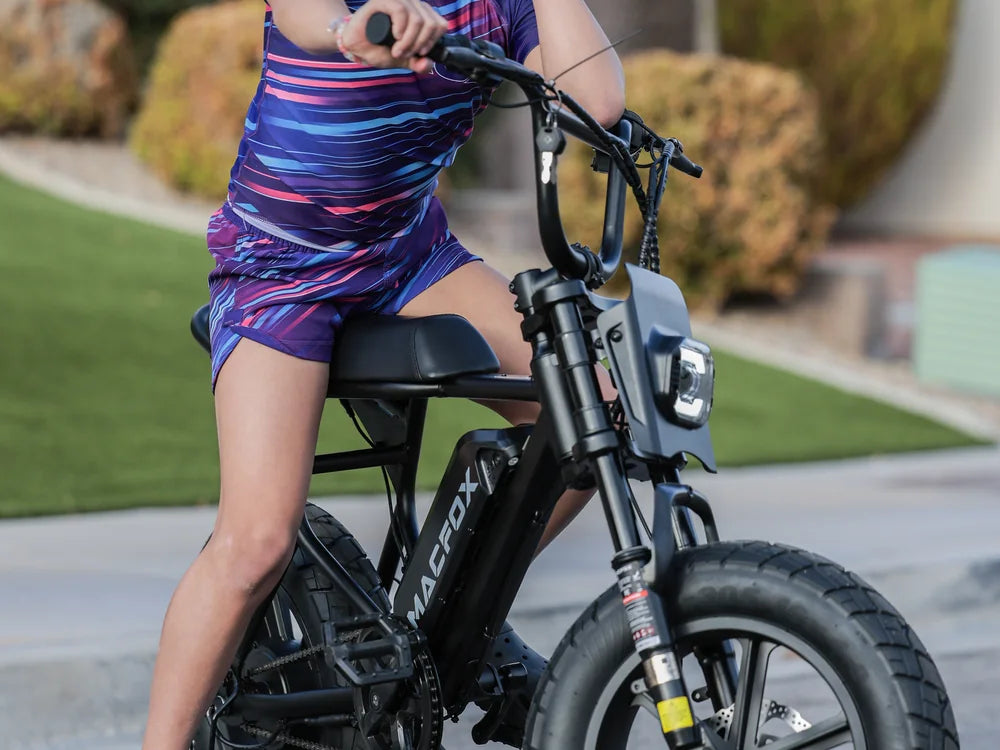
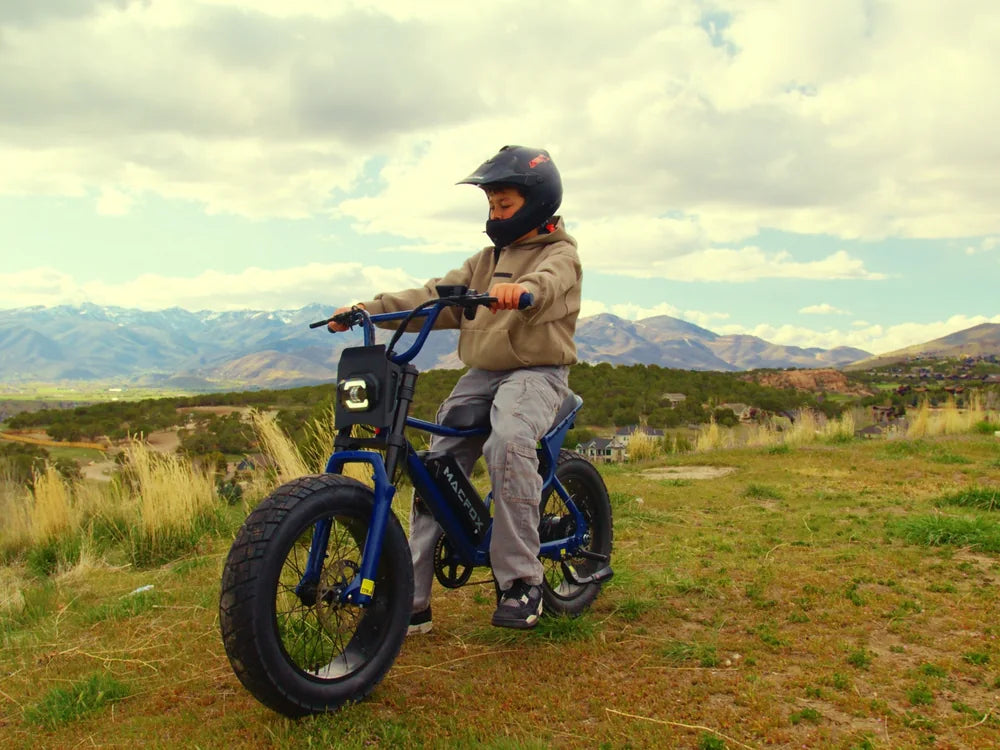
For smaller or newer teen riders, bike size matters during these first minutes. The Macfox M16 fits naturally into this practice stage because its smaller body and 16x4.0 fat tires lower the entry barrier for short, controlled rides. That does not mean the bike does the learning for your child. It means the first-week practice can focus more on behavior and less on fighting an oversized frame.
Practice Stopping Before Practicing Speed
Parents often watch acceleration first because it is the most obvious thing. For trust, stopping matters more. Ask your teen to ride in a straight line and stop at a chosen spot. Then repeat it at a slightly different distance. The point is not a dramatic hard stop. The point is early, smooth braking before the exact place they chose.
If braking feels jumpy, late, or too sharp, stay on Day 1 skills longer. A teen who can start but cannot stop calmly is not ready for a route. That is not punishment. It is the difference between riding a bike and managing a bike.
Days 2-3: Make Starts, Brakes, and Slow Turns Automatic
The second and third days should repeat the same skills until they stop feeling like a performance. Keep the space familiar. Let your teen know that consistency matters more than speed, distance, or how quickly they finish the drills.
For starts, watch whether your teen can begin without a sudden jump, without looking down at the bike, and without swerving into the edge of the space. For braking, watch whether they slow down before they need to. For turns, ask for wide, slow turns first, then smaller turns. A teen who can make a slow turn without rushing is usually showing better real control than a teen who only looks good going straight.
This is also where the parent tone matters. Do not turn every mistake into a lecture. Call out the pattern, not the personality. "That stop was late" is useful. "You are not being careful" usually starts a fight. Your teen needs to feel that better control earns more freedom, not that every practice session is a trap.
If the bike itself feels hard for your teen to manage, compare what you are seeing with the e-bike control checklist for teen riders. That page is better for judging bike-control factors. This one is about how to structure the first week.

Days 4-5: Add One Real-Route Challenge at a Time
By the middle of the week, the practice should start to look more like real life, but only one variable should change at a time. Do not add traffic, friends, dusk, a new route, and a hill all in the same session. That makes it impossible to know what caused the problem if something goes wrong.
Use Small Route Features Before Full Routes
Choose one or two realistic features: a driveway exit, a quiet corner, a stop sign, a mild slope, a parked car to pass with space, or a place to pull over and restart. Ask your teen to repeat the same piece several times. You are looking for the boring version of success: slow approach, clear stop, no panic, no showing off, no guessing.
This is where many parents can loosen up a little. If your teen repeats a small challenge calmly, say so. The reward does not need to be a long ride yet. It can be one more block, one more supervised loop, or a clearer promise of what comes next.
Keep the Route Fixed for a Few Repeats
Do not change the route every day during the first week. A fixed short route makes the practice easier to judge. If your teen improves on the same route, the improvement is more real. If they only look good when the route is new and exciting, you may be seeing confidence rather than control.
Once your teen can repeat a fixed route calmly, then route boundaries become the next layer. The teen e-bike route boundaries guide can help decide where they can ride, where they need to slow down, and which streets or crossings should stay off-limits for now.

Days 6-7: Run a Short Route and Review It
Near the end of the week, give your teen one short, specific route. It should be boring on purpose: a neighborhood loop, a ride to a nearby friend's house with supervision, or a short path with clear stop points. Do not make the first route a big symbolic ride. Make it a clean test of the skills already practiced.
You can follow behind, watch from a few points, or meet at the end depending on the space and your child's maturity. What matters is that the route has a start, a stop, and a review. Did they follow the agreed path? Did they slow before corners? Did they park without blocking anything? Did they keep both hands available and stay focused? Did they handle a small change without arguing or freezing?
After the ride, use a short review. Three questions are enough:
- What felt easy today?
- Where did you need more space or more time?
- What boundary should stay the same for the next ride?
The review should not feel like a courtroom. It should help your teen connect practice with more independence. If they can talk about the ride honestly, they are usually closer to being ready than a teen who insists everything was perfect.
If your family is still comparing models for this stage, look at the actual practice environment before comparing every spec. A smaller, easier-to-manage bike may be better for first-week confidence than a more powerful model that feels impressive but harder to handle. The broader electric bike collection can help you compare size, style, and everyday use without turning the first week into a spec race.
When Not to Move to the Next Step
Some signs mean your teen needs one more practice day before earning a wider route. That is normal. The goal is not to slow them down forever. The goal is to avoid giving freedom before the foundation is ready.
Pause the next step if your teen repeatedly starts too hard, brakes too late, wobbles through slow turns, struggles to park, forgets the route, checks a phone, watches friends instead of the path, or treats every correction as a personal attack. Any one of those can happen once. A repeating pattern means the next ride should return to the previous stage.
Use clear language: "We are not taking the bike away. We are repeating this part until it looks easy." That keeps the focus on skill, not punishment. For many teens, that distinction is what keeps practice from becoming a power struggle.
FAQ
How long should a teen practice each day during the first week?
Fifteen to thirty minutes is usually enough. Short, focused sessions work better than one long session where your child gets tired, bored, or defensive.
If my teen rides well on the first day, can they ride alone?
Not yet. The first day shows that your teen can operate the bike in a simple setting. It does not show how they handle corners, people, parked cars, route limits, or unexpected changes.
Should parents follow every first-week ride?
At first, yes, either by riding along, walking nearby, or watching from a safe point. Later in the week, you can shift toward short fixed routes and a review afterward.
Should friends join the first-week practice rides?
Usually no. Friends add distraction and social pressure. Once your teen is steady alone, then supervised group riding can become a separate step.
When is a teen ready for a short independent route?
Start with a very short fixed route when your teen can repeatedly start calmly, brake early, turn slowly, park cleanly, explain the route, and accept a quick review afterward.