
If the hub axle blocks a correctly matched internal-spline Center Lock tool, use an approved external-spline lockring with its matching tool for reassembly. If the teeth do not match, replace the tool instead. If the old ring is already installed and inaccessible, have a shop remove it; buying another ring will not solve removal.
Identify the Lockring Interface

A Center Lock rotor is secured by a ring around the hub's center, rather than separate bolts around the rotor mount. Look at that ring, not the caliper bolts or the rivets joining the rotor's sections.
Internal splines take a tool that engages inside the ring. External notches take a tool that grips around it. Match the tool to the specified fitting; a tool labeled for cassette lockrings does not automatically clear your axle. Turn the bike off and let the rotor cool before handling the wheel. Watch the sharp rotor edges.
Find What Stops Full Tool Engagement
Offer the tool up straight, by hand, without turning a wrench. Does its tooth pattern match? Does its center opening clear the axle end? Is a guide pin or the tool body hitting something before the teeth engage? These are separate fit questions, even when the tool looks nearly right.
If it bottoms against the axle or end cap while barely engaging the ring, stop. Do not apply torque through the tooth tips, hammer the tool inward or reach for a longer handle. For an installed ring you cannot properly engage, bring the wheel and tool to a shop rather than dismantling the hub to gain access.
Check an Approved Lockring Alternative
An external-spline ring moves the tool engagement outside the ring, avoiding some internal-tool clearance problems. But being able to turn it is only part of the fit. The replacement must suit the hub and rotor, and its thickness and outside diameter must leave clearance at the fork or frame. Some setups require a thinner ring.
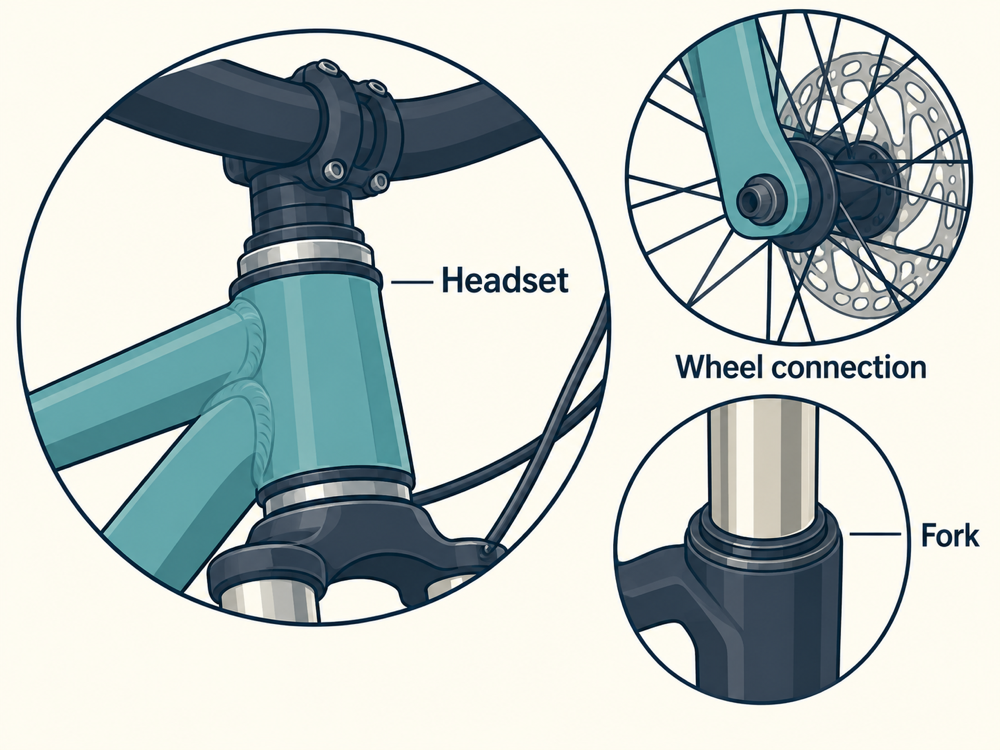
On an electric bike with a replacement wheel, identify the hub actually fitted before ordering hardware. Confirm the hub, rotor, lockring and required tool together with the component manufacturer or a shop. Do not grind the axle or add washers behind the rotor to create tool space. If access and installed clearance cannot both be achieved with an approved combination, stop the job.
Verify Clearance With the Wheel Installed
With the correct parts, fully engage the tool and tighten to the lockring's specified torque. Reinstall and secure the wheel according to its axle instructions. Check the lockring and rotor assembly for contact with surrounding parts; rotate the wheel slowly with power off and fingers clear.
A freely spinning wheel does not prove that the rotor is securely retained or the brake works correctly. Unresolved looseness, contact or uncertain fastening means no riding until the assembly has been checked. For a broader explanation of the hub and surrounding components, see our guide to electric bike wheels.