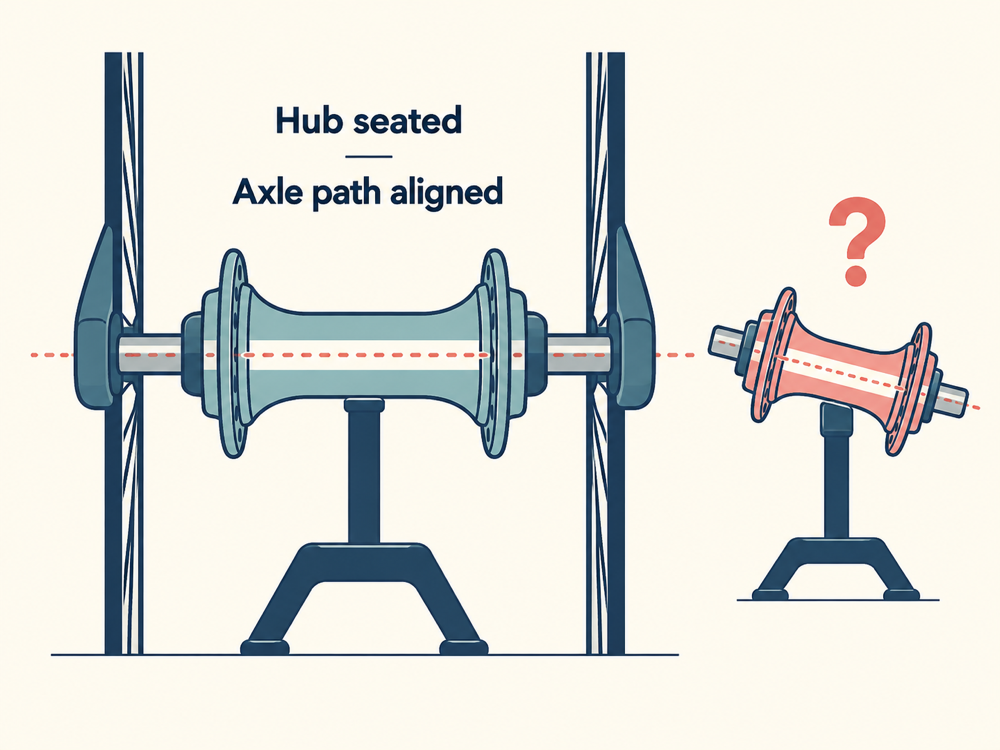

If the original thru-axle won't thread in after reinstalling a wheel, reseat and support the wheel so the openings line up, then start the undamaged axle gently by hand. Don't pull it into line with a wrench. If a replacement axle binds, check its specifications first. Damaged threads or continued resistance with the correct parts mean stop for inspection.
Align the Wheel Without Pulling It Into Place

This applies to a threaded thru-axle that passes through the hub and screws into the opposite frame or fork fitting. A thin quick-release skewer or a wheel secured by external axle nuts needs a different procedure. A folding handle alone doesn't identify the system.
Turn the power off and support the bike securely. Hold the wheel in its intended position, with the hub fully seated and its correct end caps in place. Gently reposition the wheel until the axle path lines up. Don't use the threads to drag a tilted hub into position. Get help if you cannot support the bike and wheel safely.
Match the Axle, Not Just the Hub Standard
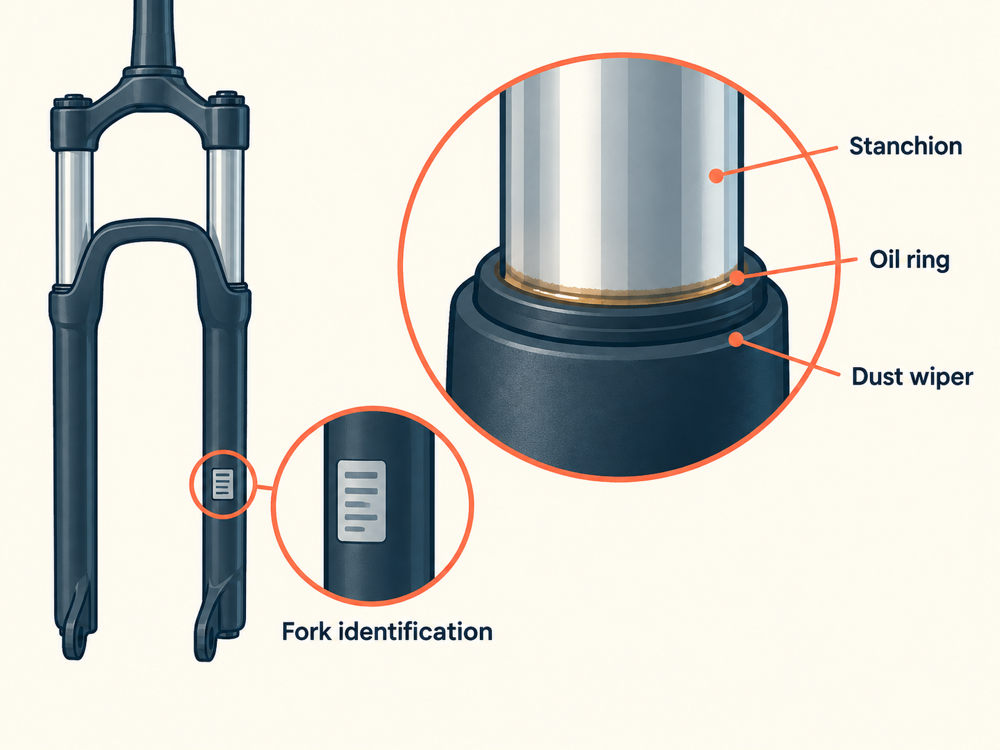
Did this start after replacing the axle or wheel? Compare the replacement's shaft diameter, length, thread pitch, and head seating shape with the original specification. Check axle markings or the bicycle or fork manufacturer's replacement-part information.
Hub width is not axle length: the shaft also passes through the frame or fork. Matching a hub-width label doesn't establish fit, and thread pitch must match exactly. Similar-looking electric bikes need not use interchangeable axles. Don't add improvised washers to make an uncertain replacement seem to fit.
Stop at Early Thread Resistance
Before another attempt, inspect the exposed threads. Wipe away loose surface dirt; flattened threads, fresh metal shavings, or a visibly damaged tip are reasons to stop. Follow the actual axle instructions for thread preparation. Extra grease won't correct the wrong pitch or repair damaged threads.
With alignment and compatibility confirmed, start the axle gently by hand without pushing it sideways. If it catches crookedly or binds immediately, back it out only if it turns freely. If it's already stuck, don't force it in either direction.
Persistent binding needs inspection of both the axle and the receiving threads. Replacing the axle alone may not solve damage on the other side. Don't run a tap through the fitting or use a new axle to cut a path through it.
Confirm Clamping Before the Bike Returns to Use
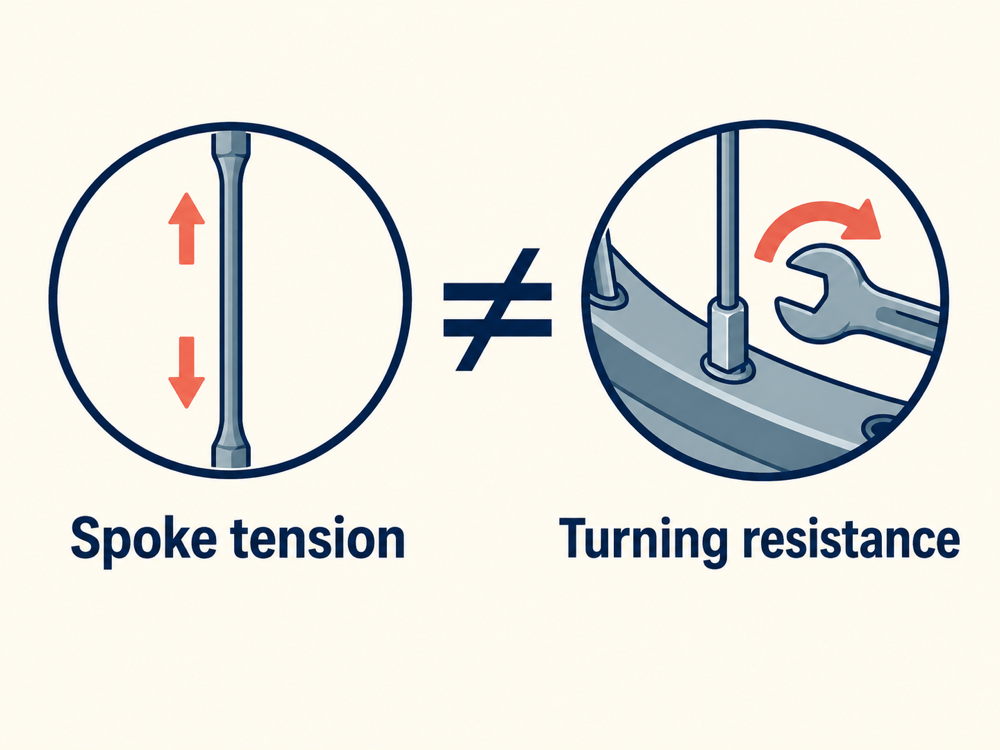
An axle reaching a hard stop doesn't prove it secured the wheel. An unsuitable axle can run out of usable thread travel before clamping the hub against the frame or fork. A wheel that remains loose is not fixed by applying more torque.
After normal engagement, complete the specified tightening or closure procedure, then check wheel security and brake operation while stationary. Don't ride with unresolved play or uncertain clamping.
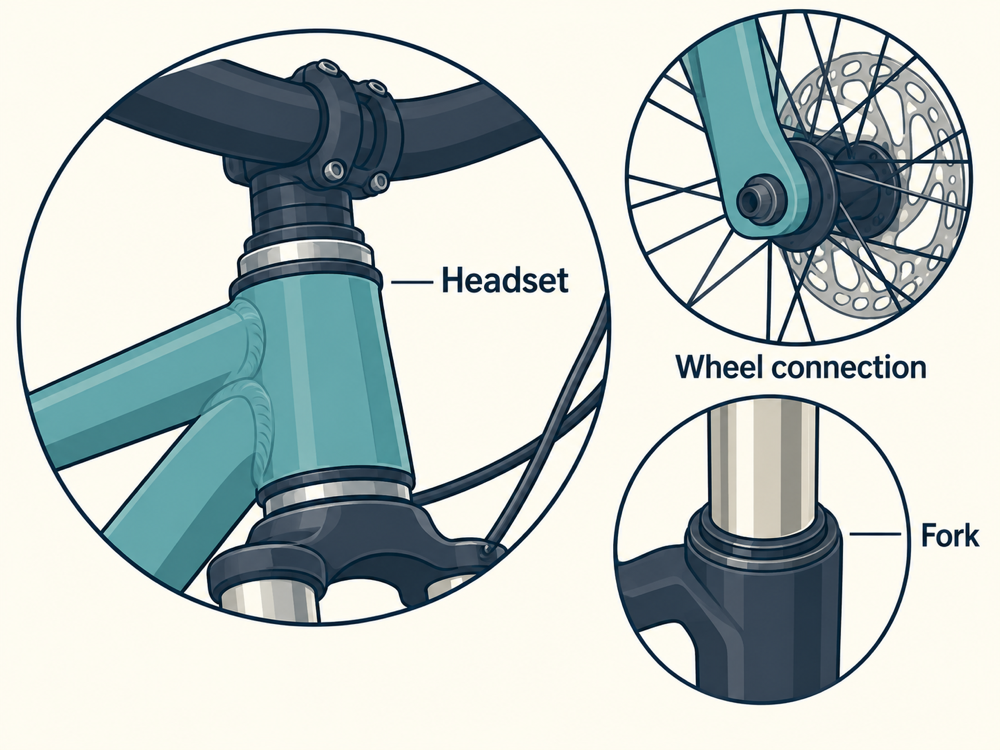
For shop help, bring the original and replacement axles and explain what changed. Our e-bike wheel guide can help you identify the hub and surrounding parts when describing the problem.