
If a separate chainring bolt and its back nut turn together, hold the nut with the tool that matches its interface while turning the bolt. A slotted chainring nut, for example, needs a properly seated nut wrench. If holding it still does not clamp the chainring, check the fastener length and threads instead of adding force. A bolt reaching a hard stop is not proof that the ring is secure.
Confirm You Are Holding a Separate Nut

Switch off your electric bike, support it securely, and keep your hands away from the chainring teeth. Look at both sides of the fastener before choosing a tool.
This advice is for a two-piece bolt-and-nut connection through the chainring mounting holes. It does not apply to every crank: some rings have threaded mounting points, while others attach directly using a lockring or a different fastening arrangement.
The large bolt securing a crank arm is also a different connection. If you cannot identify the parts that are moving, stop rather than holding or turning whatever looks closest.
Use the Nut's Actual Tool Interface
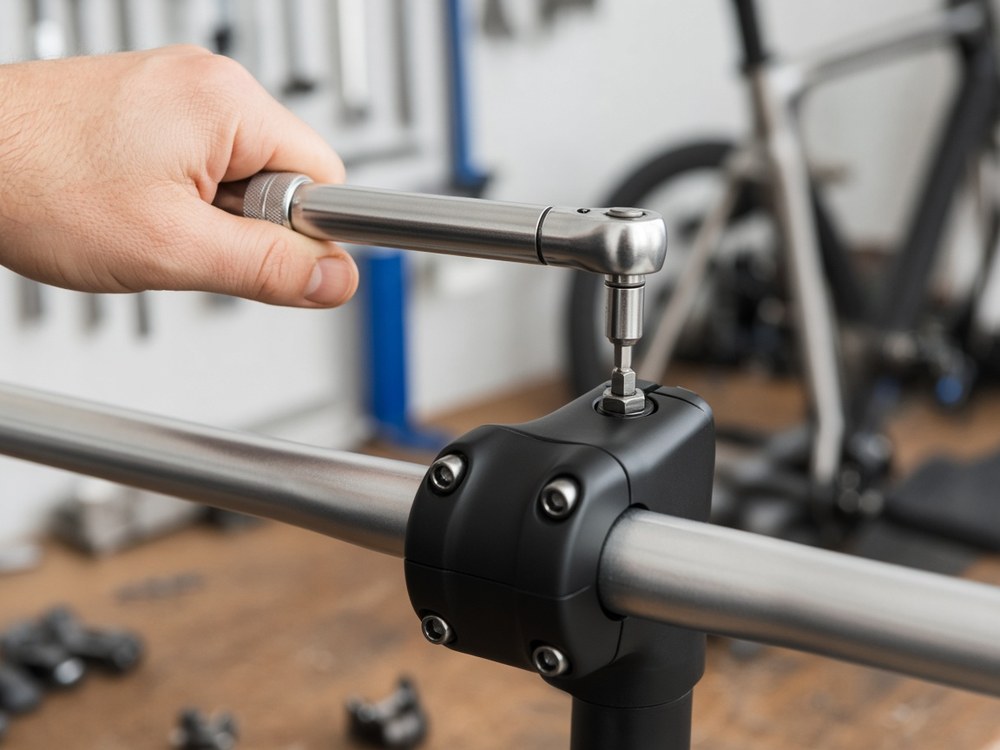
A tool needs to engage the intended flats, recess, or slots fully. Hold the back nut steady while operating the bolt from the other side, following the hardware's removal or installation instructions.
If the tool cannot sit squarely because access is obstructed, more pressure will not improve its fit. Rounded slots or a slipping tool are reasons to stop and get help before damaging the fastener further.
Do not grip the chainring teeth with pliers to keep the nut from turning. Holding the ring itself does not necessarily hold a freely turning nut, and it adds a risk of damage or injury.
A Tight Bolt Can Still Leave the Ring Loose
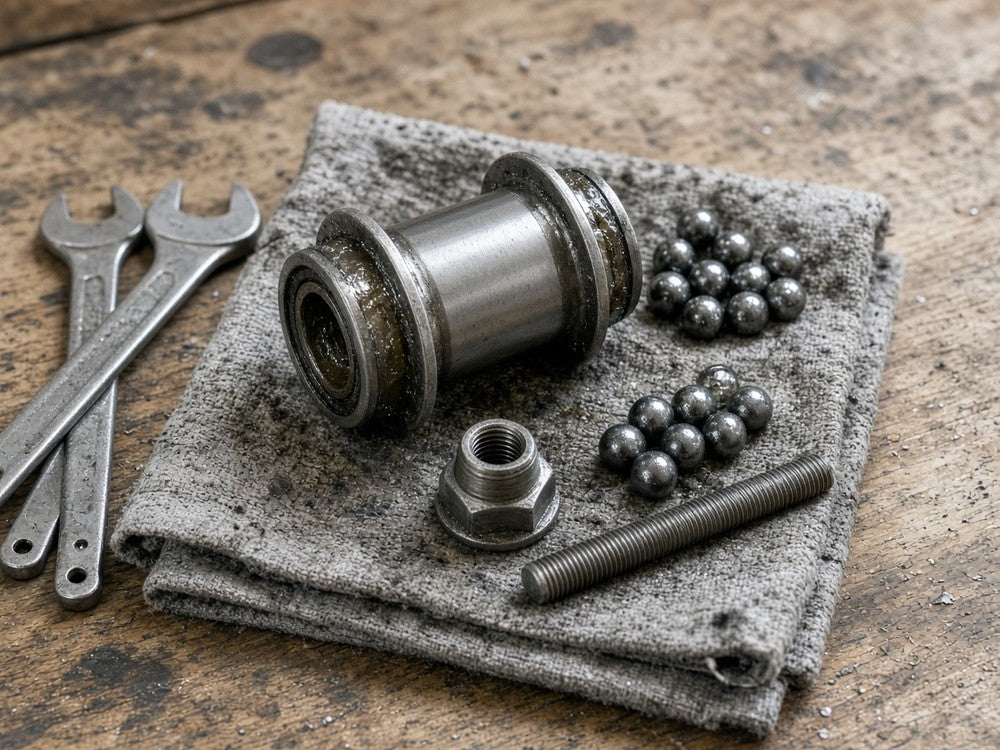
After changing a ring or moving between a single-ring and multiple-ring arrangement, the hardware must suit the actual mounting thickness. A bolt or nut barrel can bottom out before the parts are clamped together.
Damaged threads can also resist turning or fail to develop clamping force. Neither problem is fixed by reaching for a longer wrench. Do not add random washers or select another bolt only because its head fits your tool.
Confirm the specified bolt-and-nut pairing and thread preparation. Grease, dry assembly, and threadlocking treatment are not interchangeable instructions. If the correct pairing is unclear, take the parts to a mechanic before riding.
Confirm Clamping Before Riding
With intact, correct hardware secured as specified, the ring should not move relative to its mount. Check for interference while turning the crank by hand with the power off, keeping fingers clear.
If the ring remains loose, or damage is visible around the mounting holes, do not test it under pedal or motor load. The drivetrain troubleshooting guide covers other symptoms, but this repair is complete only when the chainring is genuinely held, not merely when the bolt stops turning.