The best e-bike route is not always the shortest route. A route that looks quick on a map can become stressful when it stacks a steep climb, a fast left turn, an exposed parking stop, and no charging margin on the same ride.
This guide helps electric bike riders build a simple route risk map before they commit to a commute, school ride, errand loop, or regular neighborhood trip. It does not recommend specific city routes, replace a map app, or turn into a full theft, charging, or hill-climbing manual. It gives you a practical way to compare one route against another before the route becomes your routine.
Quick Answer: Do Not Plan an E-Bike Route by Distance Alone
A good e-bike route should pass four checks: the hills are manageable with battery margin, the crossings do not force risky traffic decisions, the parking stops have a realistic lock plan, and the ride can be completed without depending on uncertain charging. If a longer route lowers two or three of those risks, it may be the better daily route.
| Risk Layer | What to Check | Warning Sign |
|---|---|---|
| Hills and battery load | Grade, climb length, stop-start climbing, wind, and return-trip margin. | The route is short but drains far more battery than expected. |
| Crossings and traffic exposure | Fast turns, multi-lane roads, blind intersections, and lane gaps. | The map is direct but pushes you through stressful crossings. |
| Theft and parking stops | Where the bike sits, how long it stays there, and what you can lock to. | The destination has no fixed rack, low visibility, or long unattended stops. |
| Charging and backup | Starting charge, backup range, destination outlets, detours, and weather. | The route only works if everything goes perfectly. |

Start With the Real Trip, Not the Map Line
Route planning starts with the actual job the ride must do. A five-mile ride to a cafe, a ten-mile commute, and a two-stop grocery loop are different problems even when they cross the same streets. Before you score the route, write down the start point, destination, time of day, likely stops, carried items, parking time, and whether you must ride home on the same charge.
If the question is whether the ride is too far for daily use, use the bike-to-work distance guide as the deeper distance check. In this route map, distance is only one input. A slightly longer route with calmer crossings, fewer forced stops, and better parking can be easier to repeat than a shorter route that keeps you tense every morning.
Build two or three route options first. Name them simply: shortest route, calmer road route, and backup route. You are not trying to make a perfect map. You are trying to see which route has the fewest serious problems for the kind of rider, bike, schedule, and destination you actually have.
Risk 1: Hills, Grade, and Battery Margin
Hills matter because they affect effort, speed control, motor load, and range at the same time. A route with one steady climb may be easier than a route with repeated short climbs from stop signs. A climb late in the ride can feel very different from the same climb at the start, especially if the battery is already lower.
When you map a hill, look for three details: how long the climb lasts, whether you must stop halfway up, and whether the return trip repeats the same load. If a hill sits after a busy crossing, the risk is not only the grade. The risk is starting from a stop while traffic is moving around you.
The fix is usually not "avoid all hills." It is to choose the climb you can repeat with margin. If hills are the main reason you are uncertain, use the e-bike hill guide to separate normal climbing questions from this route-level decision.
Risk 2: Crossings, Turns, and Traffic Exposure
The crossing layer is where many route decisions change. A route can be short and still poor if it forces you to merge across fast traffic, wait in a narrow shoulder, or cross a multi-lane road without a comfortable signal. For an e-bike, this matters because the ride is often practical transportation, not a one-time recreational loop.
Check each route for the hardest three moments. That could be a left turn across traffic, a freeway ramp area, a school pickup zone, a parking lot entrance, or a narrow bridge. If you only remember the smooth middle of the route, you may miss the few seconds that decide whether the route feels repeatable.
Use your map app for lanes, trails, and cycling directions, but treat the map as a starting point. The bike-lane map check can help you check cycling layers, while your test ride confirms details a map cannot see: sight lines, pavement breaks, blocked lanes, delivery trucks, and how drivers behave at your actual riding time.
Risk 3: Theft Exposure at Stops
Theft risk is not only a bike problem. It is a route problem. If a route takes you to a destination with a visible fixed rack, short parking time, and normal foot traffic, the same bike feels easier to manage. If the route ends at a hidden rack behind a building or a long unattended stop, the risk rises even if the ride itself is pleasant.
Score each destination stop before you ride there daily. Can you lock the frame to a fixed object? Is the rack in sight of people or cameras? Do you need to remove accessories, display, or battery? How long will the bike sit there? Is there a backup place if the rack is full?
This article should not become a full locking manual. For lock choice, accessory removal, and layered security habits, use the e-bike theft-prevention guide. Here, the point is simpler: a route that has no realistic parking plan is not ready yet.

Risk 4: Charging, Range Buffer, and Backup Options
Charging risk appears when the route depends on a best-case battery estimate. Hills, wind, cold weather, extra cargo, low tire pressure, and detours can all reduce the margin. A route that works only when you leave home fully charged and ride perfectly is not a comfortable routine.
Plan the route with three numbers: expected distance, worst-case detour distance, and the range you want left when you get home. If you arrive with almost no buffer during a test ride, do not assume the routine will improve on a tired weekday or in bad weather.
If you need public charging or destination charging, check it separately with the charging station map guide. For this route map, the safer habit is to plan as if charging might not be available unless you have already confirmed the outlet, permission, timing, and backup option.
Score Route A vs Route B
Once you have two route options, score them with a simple 1 to 3 scale. A score of 1 means low risk, 2 means manageable with a plan, and 3 means the route needs a change before it becomes routine. Do not average the scores blindly. One serious crossing or one impossible parking stop can outweigh several small advantages.
| Route Check | Route A: Shortest | Route B: Calmer | Decision Rule |
|---|---|---|---|
| Hills and battery | 2 | 1 | Choose the route with enough return-trip margin. |
| Crossings | 3 | 1 | A safer crossing pattern can justify extra minutes. |
| Parking and theft | 2 | 2 | Keep both only if the destination lock plan is realistic. |
| Charging and backup | 2 | 1 | Prefer the route that still works when charging is unavailable. |
In this example, Route B is probably the better daily route even if it is longer. The shortest route loses because the crossing risk is too high. That is the main value of the risk map: it makes the tradeoff visible before the ride becomes stressful.
Do a Low-Pressure Test Ride Before the Real Day
A route risk map is still a guess until you ride it. Test the route when you are not late, not carrying the full load, and not forced to prove that the first choice was right. A weekend or off-peak test ride lets you notice the details that do not show up in a map: curb cuts, rough pavement, difficult turns, confusing signals, blind driveways, and whether the parking stop feels acceptable.
During the test, track the battery level before and after the ride, the moments that felt rushed, where you would stop if weather changed, and where the bike would actually sit at the destination. If a route feels almost right, adjust one part. Do not throw away the whole idea unless the problem is structural.
When the route is close to your limit, test the return trip too. Many riders check the ride out and forget that the way home may include different hills, darker streets, heavier traffic, or a tired rider. A good route works in both directions.

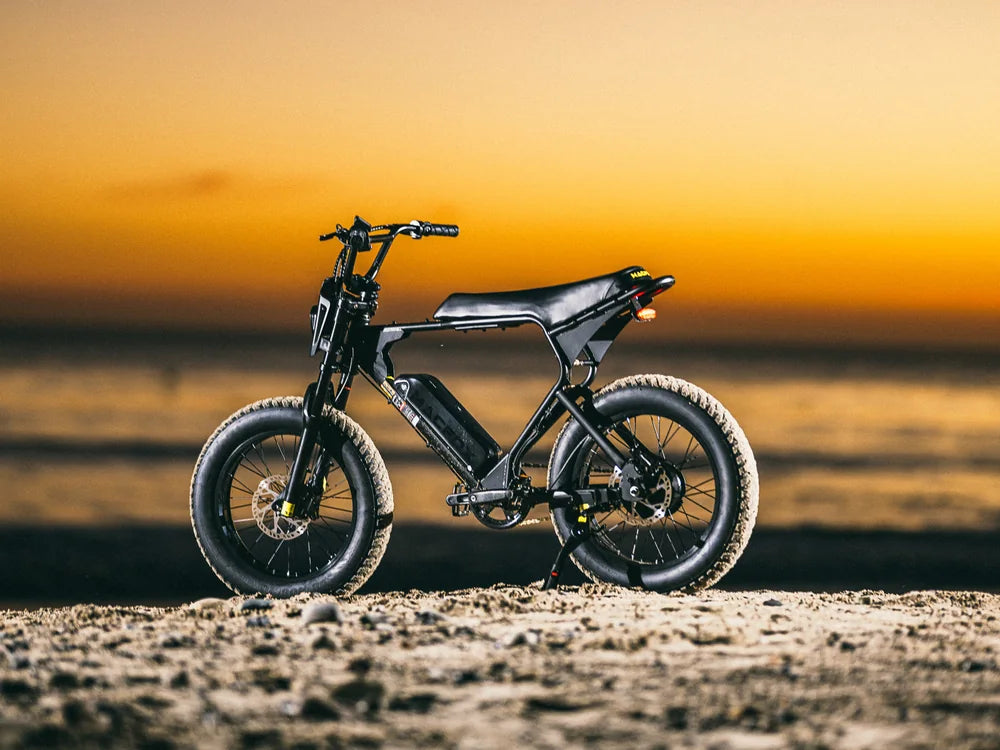
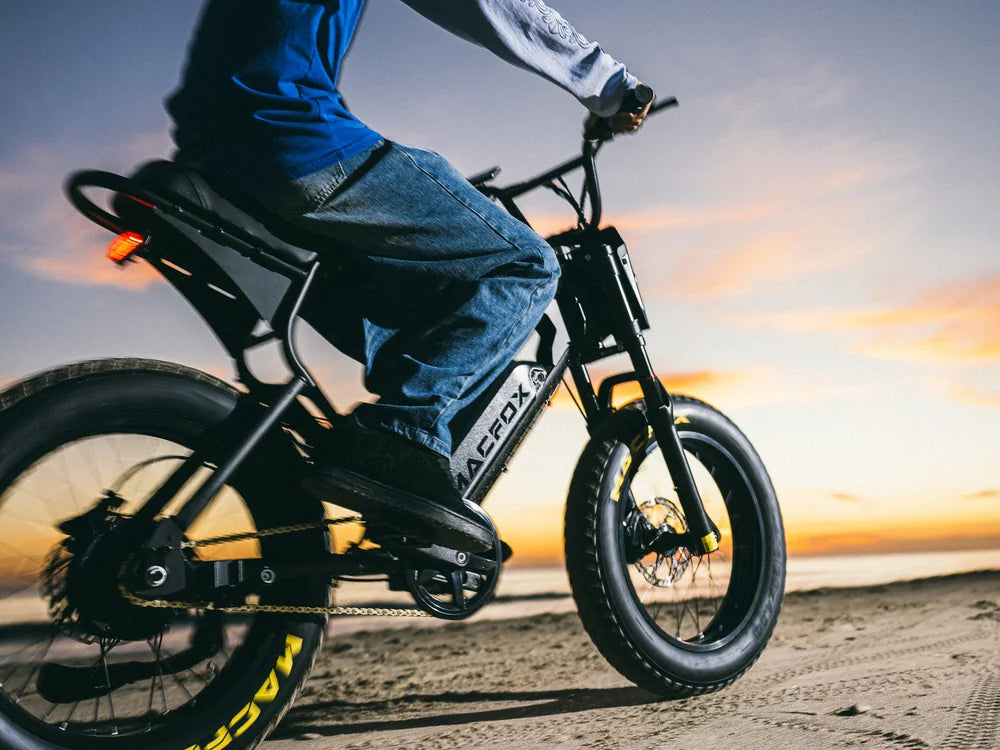
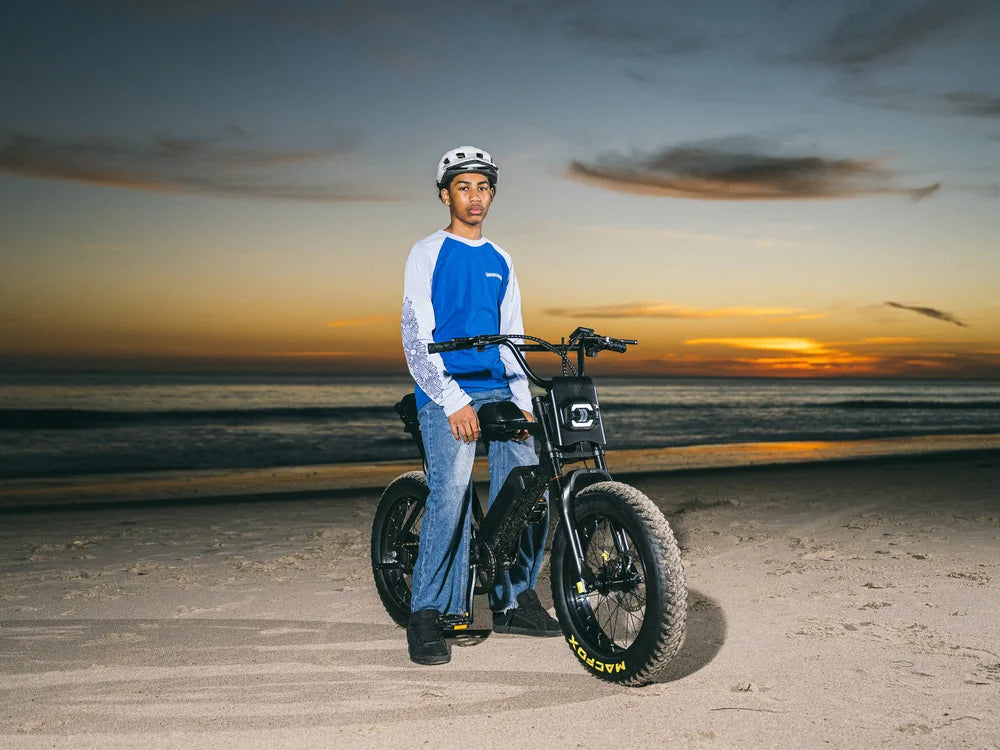
Which Macfox E-Bike Fits This Kind of Route Planning?
For a stable daily route, the Macfox X1S is the cleaner Macfox fit. It suits riders who want a straightforward commuter e-bike for streets, errands, and repeatable daily travel. Its listed rider height starts at 5'3" and up, so it should be considered by fit as well as route needs.
The Macfox M16 fits a different route-planning case: shorter community rides, compact handling, lower control feel, and younger or smaller riders who need a bike that is easy to manage in familiar daily spaces. Its listed rider height starts at 3'11" and up. It should be framed as a compact, easy-control option, not as a special-purpose stunt bike.
Final Route Risk Checklist
| Before You Commit | Question to Answer |
|---|---|
| Distance | Can you ride the route both ways without turning the trip into a range test? |
| Hills | Are the climbs predictable, manageable, and placed where you can handle them safely? |
| Crossings | Are the hardest turns and intersections comfortable at your real ride time? |
| Parking | Can you lock to a fixed object in a visible enough place for the length of your stop? |
| Charging | Does the route work even if destination charging is unavailable? |
| Backup | Do you have a calmer detour if traffic, weather, construction, or battery margin changes? |
FAQ
Should I choose the shortest e-bike route?
Not automatically. The shortest route is only best when it also has manageable hills, comfortable crossings, realistic parking, and enough battery margin. A slightly longer route can be easier to repeat if it reduces one major risk.
How much battery margin should I plan for a new route?
Leave enough margin for hills, wind, cold weather, detours, errands, and the return trip. If a test ride ends with almost no buffer, the route is too tight for daily use unless you change the route or confirm dependable charging.
Can I rely on public charging for an e-bike commute?
Only after you have confirmed the location, access, timing, permission, and backup option. For daily route planning, it is safer to treat public or destination charging as a backup rather than the only way the ride works.
What makes an e-bike crossing risky?
Fast traffic, multi-lane turns, poor sight lines, narrow shoulders, freeway ramps, confusing signals, and forced merges all raise risk. The hardest crossing on a route can matter more than the total route length.
How do I test a new e-bike route?
Ride it first when you are not late and do not need to carry everything. Track battery use, traffic stress, pavement problems, parking quality, and the return trip. Then adjust one section at a time.
Which Macfox model is better for a planned commute route?
For a stable street commute, the Macfox X1S is usually the cleaner daily route-planning fit. For shorter community routes and compact handling, the Macfox M16 can make more sense when the rider fit is right.