To adjust a bike front suspension fork, first identify which controls your fork actually has, then set a baseline, adjust preload or sag, tune compression or lockout if available, fine-tune rebound, and test ride after each small change. Do not turn every knob at once, and do not use a very stiff setting to hide a damaged fork, loose headset, rubbing brake, or incorrect tire pressure.
This guide is for riders who want a practical setup process for daily riding, city bumps, gravel paths, and light trail use. It does not replace the fork manufacturer's service manual, and it does not cover full fork rebuilds or internal damper repair.
Quick Answer: Front Fork Adjustment Order
| Step | What to do | Why it matters |
|---|---|---|
| 1 | Check tire pressure, axle tightness, brake rub, and headset play. | A fork problem can feel like a tire, brake, or steering problem. |
| 2 | Find out whether the fork has preload, air pressure, compression, lockout, or rebound controls. | Not every fork has every adjustment. |
| 3 | Set a baseline and write down the current knob positions. | You need a way to return to the original setup. |
| 4 | Adjust preload or sag first. | This controls how the fork sits under rider weight. |
| 5 | Adjust compression or lockout only after basic support feels right. | Compression changes how the fork resists bumps. |
| 6 | Adjust rebound last, then test ride. | Rebound controls how quickly the fork returns after compression. |
Before You Touch the Fork
Start with the simple checks. A low front tire can make the fork feel soft, while an overinflated tire can make the bike feel harsh even when the fork is working correctly. If the front wheel is not fully seated, the brake rotor rubs, or the headset is loose, adjustment will not solve the real issue. Use the e-bike tire pressure guide if the ride feel changed after a tire change, seasonal temperature shift, or long storage.
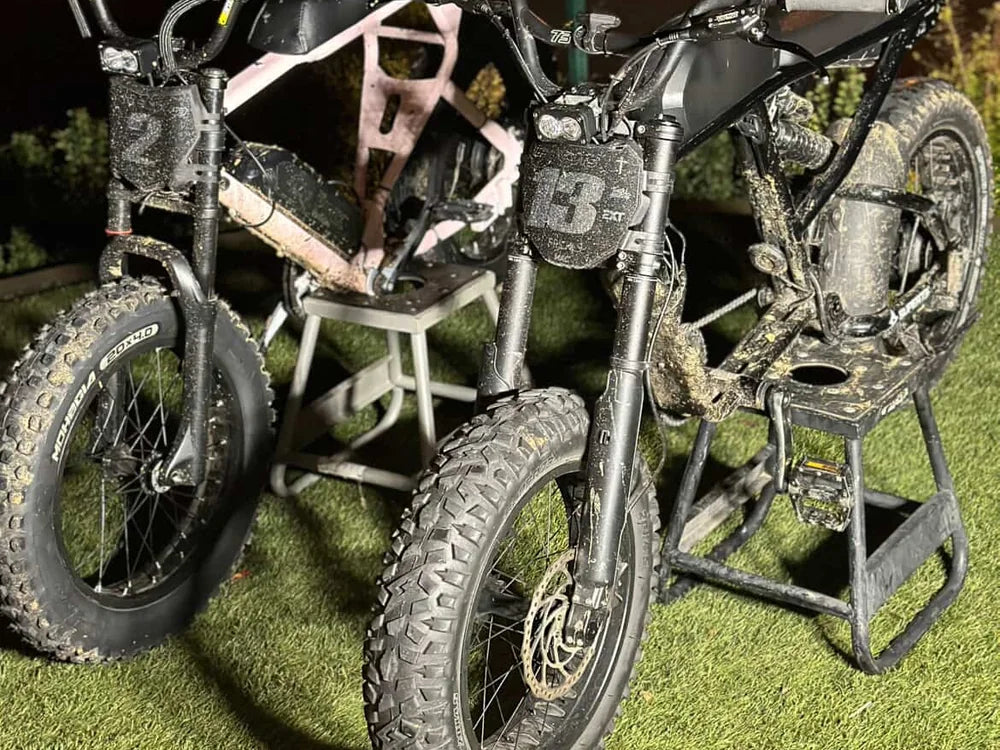
Wipe the fork stanchions clean before adjusting. Look for deep scratches, oil around the seals, dents, cracked lower legs, or a fork that sticks instead of moving smoothly. If you see any of those signs, stop treating it as a settings problem and move to maintenance or service.
The video below should be used as a visual reference for the adjustment area and front-fork controls. Match what you see on your own bike first, because some forks have only a preload knob or lockout lever while others also include rebound or air-pressure settings.
Know What Kind of Fork You Have
A coil fork uses a spring inside the fork leg. A preload knob can make the spring feel firmer at the start of travel, but it does not change the spring rate forever and it cannot turn the wrong spring into the right one. An air fork uses air pressure as the spring, so rider weight is usually set with a shock pump rather than a simple hand pump.
If your fork has an air valve, check the model-specific pressure chart before adding air. The front shock pressure guide is a better next read for pressure-focused setup. If your fork has only a blue or black lockout lever, it may not have separate compression or rebound tuning.
Set a Baseline First
Before changing anything, count the current turns or clicks from fully open to the current position and write that down. Work in small changes: one or two clicks, a quarter turn, or a small air-pressure change at a time. After each change, ride the same short test section so you can feel the difference.
A useful test route includes a smooth section, a curb cut or speed bump, a rough patch, and a controlled braking stop. The goal is not to make the fork as soft as possible. The goal is support, comfort, steering control, and predictable braking.
Adjust Preload and Sag
Preload affects how much the fork compresses when you sit on the bike. Too little support can make the front end dive, feel vague in turns, or use too much travel on small bumps. Too much preload can make the front end harsh and reduce traction because the wheel skips instead of tracking the ground.
- If the fork dives too much under normal riding: increase preload slightly or add air if the fork is air-sprung.
- If the fork feels harsh over small bumps: reduce preload slightly or check whether the tire pressure is too high.
- If the fork bottoms out often: check rider weight, cargo, speed, terrain, and whether the spring or air pressure is appropriate.
- If the fork barely moves: reduce preload, check lockout, and inspect for dirt, damage, or a stuck mechanism.
Sag does not need to become a complicated formula for everyday riders, but the fork should settle slightly under normal riding weight. If it sits fully extended, it may feel harsh. If it sinks too far, it may run out of travel too quickly.
Adjust Compression or Lockout
Compression controls how strongly the fork resists movement as it compresses. Some forks use a simple lockout or firm/open lever instead of a full compression adjuster. Use a firmer setting for smooth pavement or climbing if the fork bobs too much. Use a more open setting for rough streets, gravel, potholes, or trails.
Do not ride rough ground with the fork locked out unless the fork maker says it is safe. Lockout is meant to reduce movement on smooth sections, not to make a suspension fork behave like a rigid fork under repeated impacts.
Adjust Rebound Last
Rebound controls how quickly the fork returns after it compresses. If rebound is too fast, the front end can feel springy, bouncy, or nervous after a bump. If rebound is too slow, the fork can stay too low through repeated bumps and make the bike feel heavy at the front.
Start near the middle of the range if you do not know the original setting. Ride over the same bump several times, then slow the rebound slightly if the front end pops back too quickly. Speed it up slightly if the fork feels packed down or slow to recover.
E-Bike-Specific Notes
E-bikes can feel different from lighter pedal-only bikes because the frame, battery, rider, cargo, tire size, and speed all change the load on the fork. When comparing complete electric bikes, do not judge the front suspension in isolation. A commuter e-bike may prioritize smooth pavement and predictable braking, while a fat tire e-bike or off-road electric bike may need more bump absorption and tire support.
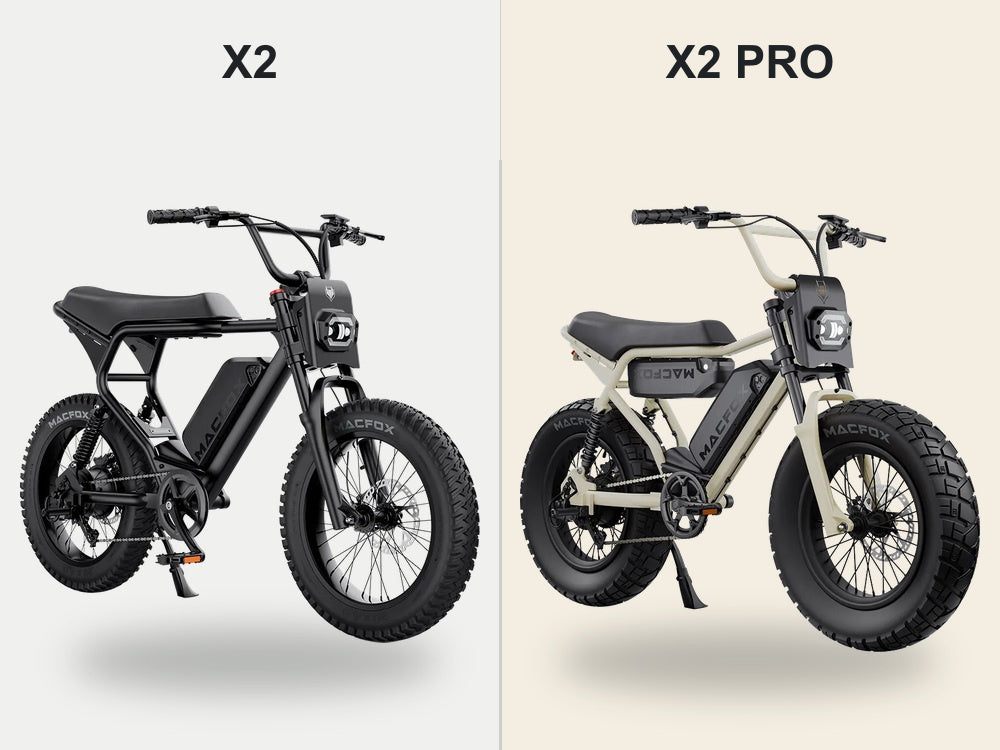
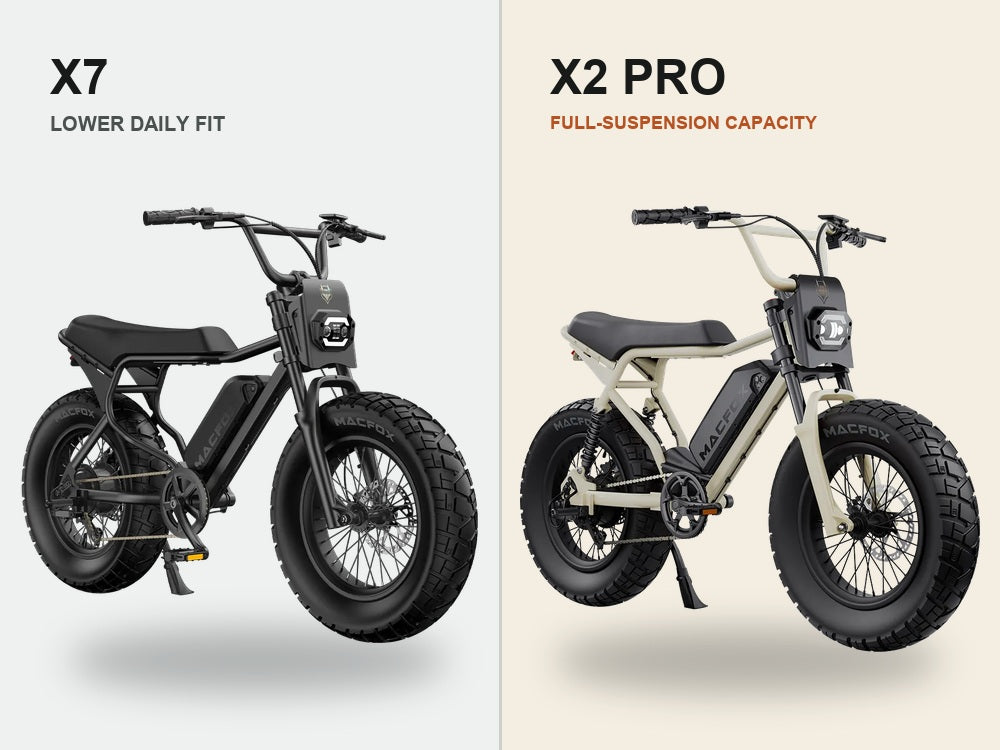
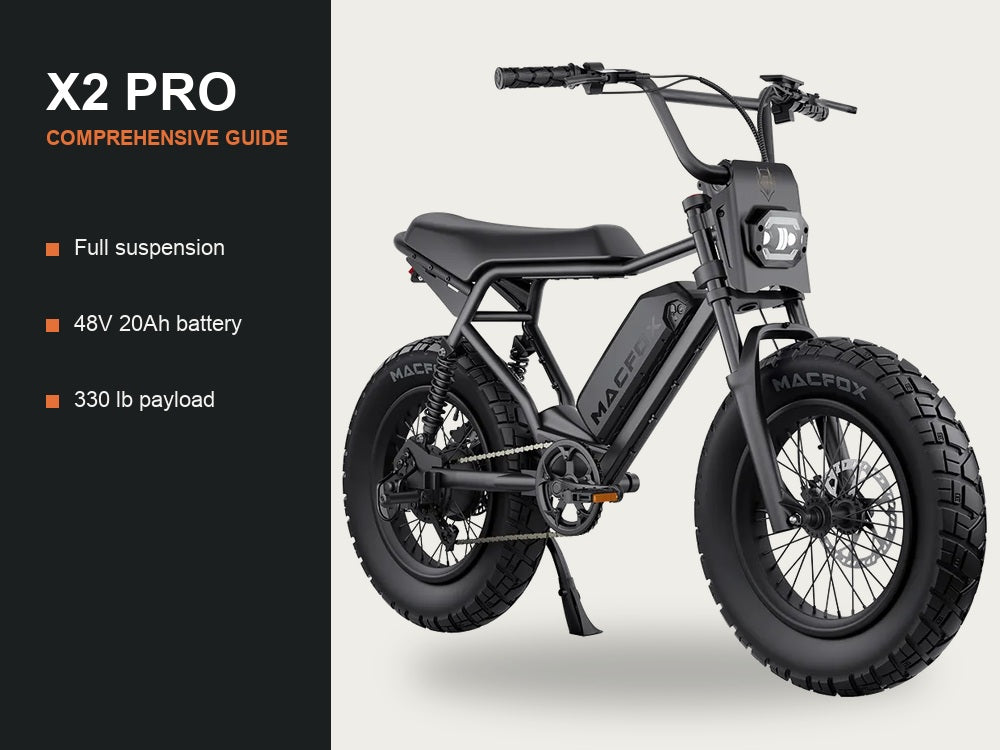
For Macfox riders, keep the setting advice tied to your actual model and route. The Macfox X1S commuter e-bike is a street-focused commuter option, while the Macfox X2 electric mountain bike is positioned for mountain and mixed-terrain riding with front and rear suspension. If you are adjusting an existing bike, identify the fork controls first; if you are choosing a bike, match the suspension layout to where you ride.
When Adjustment Is Not Enough
If the fork still feels wrong after small, controlled changes, the issue may be maintenance rather than setup. Dirty stanchions, dry seals, worn bushings, bent parts, loose hardware, or internal damper problems can all feel like bad adjustment. Use the suspension fork maintenance guide when the fork needs cleaning, inspection, or basic care before more tuning.
If you are trying to decide whether suspension or tire width matters more for your route, use the suspension vs wide tires guide. If you want the broader system view, including front, rear, fat-tire, and full-suspension tradeoffs, continue with the Macfox e-bike suspension handbook.
FAQ
Should my front suspension fork be soft or firm?
It should be soft enough to absorb bumps but firm enough to support steering and braking. If it feels comfortable but dives hard under braking, it is probably too soft. If it feels stable but skips over small bumps, it may be too firm or the front tire may be overinflated.
What if my fork only has a lockout lever?
Then your adjustment range is limited. Use open for rough surfaces and firm or locked for smooth pavement when fork movement wastes energy. Do not assume the fork has rebound or compression tuning if there is no separate adjuster.
Can I adjust an e-bike fork like a mountain bike fork?
The basic process is similar, but an e-bike usually carries more weight and may see different braking loads. Make small changes, test ride carefully, and check the specific fork or bike documentation before using mountain-bike pressure charts or aggressive trail settings.
Why does my front fork feel bouncy?
Bounciness can come from rebound set too fast, too little rider support, low tire pressure, or a fork that is not damping correctly. Start with tire pressure and baseline settings, then slow rebound slightly if your fork has that adjustment.
How often should I change fork settings?
Change settings when rider weight, cargo, tire pressure, route, or season changes. For most daily riders, once the fork feels balanced, occasional cleaning and inspection matter more than constant knob changes.
Bottom Line
A good front suspension setup is controlled, repeatable, and easy to test. Identify the fork type, record a baseline, adjust preload or sag first, tune compression or lockout only if the fork has it, set rebound last, and test after each change. If the fork is dirty, damaged, leaking, stuck, or noisy, maintenance comes before more adjustment.


2 thoughts on “How to Adjust a Bike Front Suspension Fork: Preload, Sag, and Rebound”
Jason
Looking for the assembly diagram for how to barrings and parts go backtogether.
Might need to order new barring and part. Can you provide the size required.
Blake
Can you show me the barrings and parts in the front forks