When an electric bike battery fails, the right first move is not to open the pack. The safer first move is to separate a battery problem from a charger, fuse, connector, display, controller, or wiring problem. A dead-looking battery can be caused by a loose mount contact or wrong charger. A pack that smells hot, swells, leaks, or was soaked in water is different: stop using it and keep it away from anything flammable.
This guide is a diagnosis and decision checklist for riders, shop staff, and careful DIYers. It helps you decide what to check safely, when a local battery repair service makes sense, and when replacement is the safer choice. It is not a cell-rebuilding tutorial, and it does not ask you to bypass battery protection.
Quick Answer: What to Do First
| Symptom | Safe first check | Stop DIY when |
|---|---|---|
| Battery will not charge | Check the wall outlet, charger light, charge port, and charger output. | The port is melted, hot, wet, or smells burned. |
| Bike turns on then shuts off | Check battery seating, discharge connector, fuse, and voltage under light load. | The battery gets hot or cuts out repeatedly under mild load. |
| Range dropped suddenly | Compare tire pressure, cold weather, recent storage, and actual charge level. | One ride shows severe voltage sag or the pack dies within minutes. |
| Battery says full but bike is dead | Inspect mount pins, key lock position, fuse, display wake, and controller input. | Output voltage is unstable or the connector is damaged. |
| Swelling, smoke, hiss, or chemical odor | Do not test it on the bike. | Immediately. Move it to a safe area and seek professional help. |
Use the table as a triage point, not as permission to keep testing a risky pack. A lithium-ion battery can hold dangerous energy even when the display says empty. If the battery has physical damage, heat, odor, swelling, or water inside the case, the repair decision is already made: do not ride, charge, or open it on a normal workbench.
Battery Failure, Charger Failure, or Bike-Side Failure?
Many e-bike battery complaints are really system complaints. The battery, charger, battery mount, fuse, controller, display, key switch, and wiring all have to agree before the bike runs. That is why replacing the battery first can be expensive and still not solve the issue.
| Likely area | Clues | What to check next |
|---|---|---|
| Charger or charging port | No charger light, light never changes, sparks at port, or charge only works at an angle. | Test charger output and inspect the port before blaming cells. |
| Battery contacts or fuse | Bike wakes if the pack is moved, dies over bumps, or loses all output after a short. | Inspect contacts and use the e-bike fuse guide for fuse-location context. |
| BMS protection | Pack output disappears after overload, deep discharge, overcharge, or imbalance. | Measure pack voltage and cell-group behavior if you have the skill and tools. |
| Cell damage or aging | Range falls sharply, pack sags under load, one group will not stay balanced. | Treat rebuild as professional battery work, not a quick external fix. |
| Bike-side controller or wiring | Battery output is normal but the bike still cuts out or will not drive the motor. | Use the controller failure guide and rear hub motor wiring guide instead of changing batteries blindly. |
A good diagnosis moves from low-risk outside checks toward higher-risk internal work. If a charger or fuse is bad, the fix is usually far simpler than opening a sealed pack. If cell groups are weak or the BMS has tripped because of a real pack fault, the safest path may be professional service or replacement.
Safety Checks Before Testing
Before using a multimeter or charger, look at the battery as a physical object. A healthy battery case should not be swollen, cracked, leaking, burned, wet inside, or unusually hot. The connector should be clean and seated. The lock should hold the pack firmly. The charge port should not be loose or darkened by heat.
- Do not charge a suspicious battery overnight. If you are diagnosing a fault, charge only where you can watch it.
- Do not use a random charger. Voltage, connector polarity, output current, and battery chemistry must match.
- Do not open the pack to inspect cells unless you are qualified. Exposed cell groups and nickel strips can short quickly.
- Do not bypass the BMS or fuse. If a protection part opens, find out why before restoring power.
- Do not keep retrying after heat or smell appears. Repeated tests can make a marginal pack more dangerous.
If your question is specifically about charging habits, start with safe e-bike charging. If you are trying to power a battery without its matched charger, read charging without the original charger and be conservative. A wrong charger can make a simple charging complaint much worse.
Step-by-Step Diagnosis
1. Confirm the obvious outside the battery
Turn the bike off, remove the key if it uses one, and reseat the battery. Check that the pack is locked, the contacts line up, and the discharge connector is not loose or corroded. If the bike has a removable display or separate power button, confirm it wakes normally. A battery that works only when pressed or shaken points toward a mount or connector issue, not necessarily bad cells.
2. Check the charger
Look at the charger indicator and listen for repeated cycling. A charger that never lights, blinks abnormally, becomes very hot, or works only at a certain cable angle may be the real fault. If you know how to use a multimeter safely, measure charger output against the expected charger label. Do not probe a damaged charge port if there are burn marks or loose internal contacts.
3. Check the fuse and power path
Some batteries or harnesses use a serviceable fuse. A blown fuse can make the pack look completely dead even when the cells still have charge. Replace only with the same type and rating. If a new fuse blows immediately, stop. That points toward a short or deeper electrical fault.
4. Measure battery voltage only if the terminals are safe
A voltage reading can tell you whether the pack output is present, absent, or far below expectation. For many 36V and 48V lithium packs, a healthy full-charge voltage is higher than nominal voltage, so compare against the actual battery label and charger label. Zero output may mean BMS protection, an open fuse, a disconnected lead, or an internal fault. Low but present voltage may mean deep discharge or cell damage.
| Voltage result | What it may mean | Safe next move |
|---|---|---|
| Normal pack voltage at the output | The battery may be awake, and the fault may be in the bike mount, fuse, display, controller, or wiring. | Do not buy a battery yet; continue bike-side checks. |
| Zero output at the discharge terminals | The BMS may be asleep, a fuse may be open, or the pack output path may be disconnected. | Check fuse and charger behavior before opening the case. |
| Very low voltage | The pack may be deeply discharged or internally damaged. | Do not force charge unless the battery maker or technician confirms the recovery process. |
| Voltage drops sharply under light load | Weak cells, high internal resistance, loose contacts, or BMS cutoff are possible. | Stop high-load testing and decide whether professional diagnosis is worth it. |
5. Watch behavior under light load
If the battery powers the bike, test gently before assuming it is fixed. A pack that shows normal voltage at rest but collapses under a mild load may have weak cells, high resistance, a loose contact, or a BMS cutoff. Do not do repeated full-power tests to force a failure. Stop after one clear symptom and diagnose from there.
6. Use a known-good part only when compatibility is clear
A known-good charger or battery can isolate the fault quickly, but only if compatibility is exact. Do not borrow a charger or pack just because the plug fits. Voltage, polarity, battery chemistry, connector wiring, and controller expectations matter. If you cannot confirm them, the swap test is not safe enough to be useful.
What Each Common Symptom Usually Means
Battery symptoms can sound similar even when the causes are different. The goal is to connect the symptom to the safest next check, not to prove a favorite theory. If two symptoms appear together, treat the more dangerous one as the priority. For example, a battery that will not charge and also smells hot is not a charger troubleshooting project. It is a stop-using-the-pack situation.
| Symptom pattern | More likely battery-side | More likely outside the battery |
|---|---|---|
| Bike is fully dead | BMS cutoff, blown pack fuse, deep discharge, or failed output path. | Loose battery mount, display power issue, key switch, or controller input. |
| Charger light stays green | Pack may not be accepting charge or BMS may be blocking input. | Wrong charger, damaged charger plug, or charge port contact problem. |
| Bike cuts out on hills | Voltage sag, weak cells, or BMS overcurrent protection. | Controller demand, motor wiring issue, low tire pressure, or overload. |
| Range slowly declines over months | Normal cell aging and capacity loss. | Cold weather, added cargo, soft tires, or higher assist settings. |
| Range collapses suddenly | Cell group failure, water damage, BMS issue, or internal connection fault. | Dragging brake, changed route, or a charger that never completed charging. |
This distinction is important because battery replacement is not a universal cure. A new pack will not fix a bad controller connector. A new charger will not fix swollen cells. A reset will not fix a fuse that keeps blowing because the short is still present. Treat each test as a way to narrow the system, not as a way to keep riding through a warning sign.
Repair or Replace?
| Problem found | Repair path | Replacement path |
|---|---|---|
| Loose mount contact or dirty terminal | Clean, dry, and secure the contact if there is no heat damage. | Replace damaged mounts or connectors if they are burned or loose. |
| Blown external fuse | Replace with the same rating after checking for a cause. | Replace parts if the fuse blows again or the holder is damaged. |
| Bad charger | Use the correct matched charger for the model and battery. | Replace the charger if output is wrong, unstable, or physically damaged. |
| BMS protection or failed BMS | Professional diagnosis or exact BMS replacement may work. | Replace the battery if cells are weak, wet, swollen, or badly imbalanced. |
| Cell group damage or severe capacity loss | Professional rebuild only, if the case and cell sourcing make sense. | Usually replace the pack, especially for daily commuting. |
Searches like "ebike battery repair near me" usually mean the rider wants to know whether a local shop can save the pack. The answer depends on what failed. A charger, connector, fuse, or mount issue may be straightforward. A cell rebuild, BMS replacement, or water-damaged pack should be handled only by a qualified battery technician with the right tools, insulation, spot-welding equipment, and safety process.
Replacement makes more sense when the battery is old, has lost useful range, has been physically damaged, shows heat or odor, was submerged, or needs a rebuild that costs close to a new compatible pack. A repair that restores power but leaves weak cells in service is not a reliable commuting solution.
What to Ask a Battery Repair Shop
If you decide to use a local repair option, ask questions before leaving the battery. A responsible shop should be able to explain what they will test, what they will not attempt, and how they handle fire risk. Be careful with anyone who promises a rebuild without asking about the battery label, symptoms, charger, water exposure, crash history, and exact model.
- Ask what will be tested first. Charger output, pack voltage, fuse, connector, and cell-group balance should not be guessed.
- Ask whether they rebuild lithium packs in-house. Cell replacement requires proper cell matching, insulation, and spot welding.
- Ask whether the repaired pack keeps its original protection. A repair that bypasses BMS protection is not acceptable.
- Ask about warranty and documentation. You want notes on what was repaired, what was replaced, and what warning signs remain.
- Ask when they recommend replacement instead. A shop that never says no to a damaged pack may be taking too much risk.
For proprietary or model-specific batteries, also ask whether the shop can preserve the case, mount, lock, connector, and communication behavior. A generic rebuild that physically fits inside the case is not enough if the bike, charger, or display expects a particular battery layout.
Macfox Battery and Charger Checks
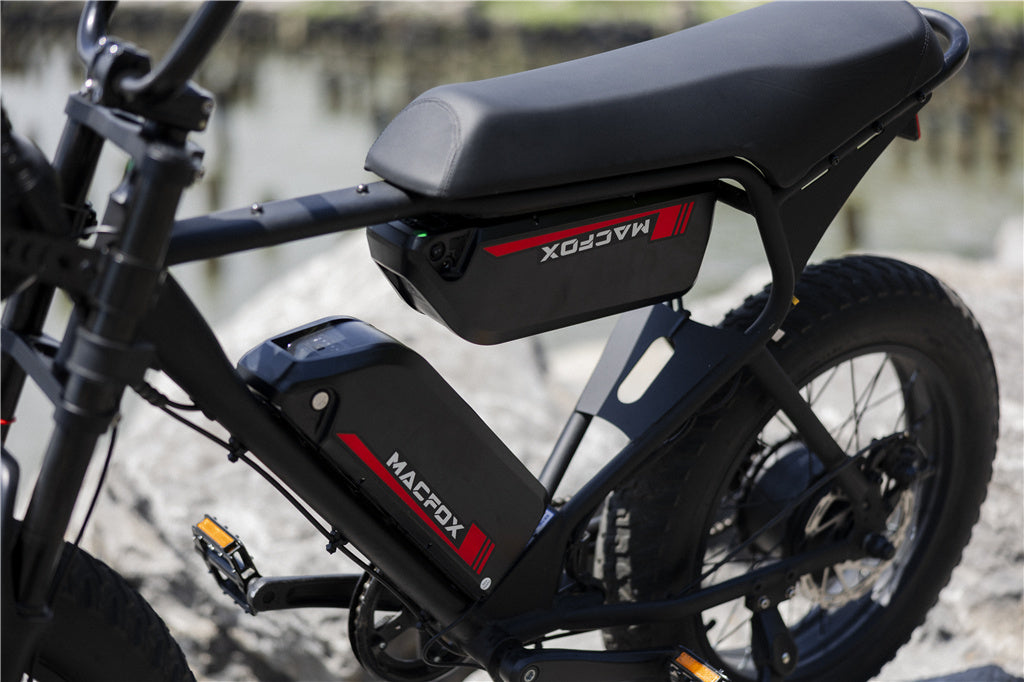
Macfox riders should identify the exact model and battery version before ordering a replacement or asking support for parts. Battery shape, connector pins, mounting hardware, and charger output can vary by model and generation. If the pack has a serial number, photo it before contacting support.
- X1S riders: compare the current product page for the Macfox X1S battery and dual battery upgrade kit and confirm compatibility before buying.
- X2 riders: check the Macfox X2 battery and dual battery upgrade kit and confirm the bike generation, connector, and battery option.
- X7 and X7L riders: use the Macfox X7 battery and dual battery upgrade kit page as the compatibility starting point, not a guess from voltage alone.
- Any model: if the charger, battery, or port looks damaged, contact support before continuing to test.
Do not use this section as a universal compatibility promise. Product pages and support are the final checks because batteries are model-specific parts. The goal is to avoid ordering a pack that looks close but does not match the bike safely.
If you contact Macfox support, include the bike model, order information if available, battery serial number, charger label, photos of the charge port and discharge contacts, and a plain description of the first symptom. Useful examples include: charger light never changes, battery cuts out under load, battery will not wake the display, or range dropped after water exposure. That information is more helpful than saying the battery is bad.
| Information to collect | Why support or a technician needs it |
|---|---|
| Bike model and generation | Battery mounts, connectors, and compatible parts can differ by model. |
| Battery serial number and photos | The exact pack can be identified more reliably than by memory. |
| Charger label and charger behavior | A charger mismatch or charger failure can mimic a battery failure. |
| When the symptom started | Water exposure, crash, storage, or a recent accessory install can point to the cause. |
| Any heat, smell, swelling, or smoke | These details change the repair decision immediately. |
What This Page Does Not Cover
Battery failure diagnosis touches several nearby topics, but each one has its own safer page. If your problem is BMS wiring, use the 36V BMS replacement wiring guide for 36V/10S packs or the 48V BMS wiring guide for 48V packs. If the bike has normal battery output but the motor will not respond, use the controller failure guide or rear hub motor wiring guide. If the whole bike has multiple symptoms and you are not sure where to start, use the Macfox troubleshooting guide as the broader checklist.
Keeping those boundaries matters. A battery article should not become a full controller repair page, and a BMS wiring article should not be used as general permission to open any battery. The safest repair path comes from identifying the fault first, then using the page that matches that fault.
How to Prevent Battery Failure
- Use the matched charger. A correct charger is part of the battery system, not an optional convenience.
- Keep contacts dry and clean. Moisture and corrosion create resistance, heat, and intermittent cutouts.
- Avoid deep storage at 0% or 100%. Moderate charge is easier on lithium packs during storage.
- Let the pack return to room temperature before charging. Charging immediately after extreme cold or heat can stress cells.
- Inspect after a crash or hard impact. A battery can look fine externally but have internal stress.
- Stop after new symptoms appear. Heat, odor, sudden range loss, or repeated cutouts deserve diagnosis before the next ride.
For a commuter e-bike, reliability matters more than squeezing one more risky ride out of a weak pack. Battery care is mostly about consistency: correct charger, dry storage, moderate temperatures, clean contacts, and not ignoring early warning signs.
A Practical Decision Rule for Daily Riders
For a recreational rider, a repair experiment may be acceptable if the battery is inexpensive, the pack is clearly safe, and the rider has another transportation option. For a daily rider, the decision is stricter. A battery that fails unpredictably can leave you stranded in traffic, at school, at work, or far from home. Reliability has value beyond the repair invoice.
Use this rule: if the fix is external, visible, and repeatable, repair is reasonable. If the fix depends on internal cell work, uncertain BMS behavior, water exposure, or repeated cutouts after testing, replacement is usually the more practical choice. A battery that you no longer trust will change how you ride even if it technically powers on.
FAQ
Why is my e-bike battery fully charged but not working?
The charger may show full while the bike still has no usable output. Possible causes include a loose mount contact, blown fuse, BMS cutoff, weak cell group, key or power-switch issue, display fault, or controller-side problem. Start with seating, contacts, fuse, charger, and safe voltage checks before buying a replacement.
Can an e-bike battery be repaired?
Some faults can be repaired, especially external connector, fuse, charger, or mount issues. Internal BMS or cell repair is higher risk and should usually be handled by a qualified battery technician. A swollen, burned, wet, or physically damaged battery should not be treated as a normal DIY repair.
How do I know if the charger or battery is bad?
Check the charger label, indicator behavior, cable condition, and output if you can measure it safely. Then inspect the battery charge port and contacts. If the charger output is wrong or unstable, replace the charger. If the charger is correct but the battery will not accept or hold charge, continue battery diagnosis.
Is it safe to open an e-bike battery?
Only if you are trained for lithium battery work and the pack has no damage signs. Opening a pack exposes live cell groups, balance wires, nickel strips, and BMS wiring. A dropped tool or wrong probe can short the pack. Most riders should stop at external checks and use professional service for internal repairs.
When should I replace the battery instead of repairing it?
Replace it when the pack is old, physically damaged, swollen, water-intruded, severely imbalanced, losing range rapidly, or expensive to rebuild compared with a compatible replacement. Replacement is also the better choice when you need reliable daily commuting and the pack has already failed more than once.
Can I use a different charger if the original charger is lost?
Do not choose by plug shape alone. The charger voltage, polarity, output current, battery chemistry, and connector wiring must match the battery. If the original charger is missing, confirm the correct replacement through the product page or support before charging.
Bottom Line
Electric bike battery failure should be diagnosed in layers: outside checks first, charger and fuse next, voltage and load behavior only when safe, and internal battery repair only when the risk is justified. If the problem is external, repair may be simple. If the pack shows heat, odor, swelling, water damage, weak cells, or repeated cutouts, replacement or professional battery service is the safer answer.