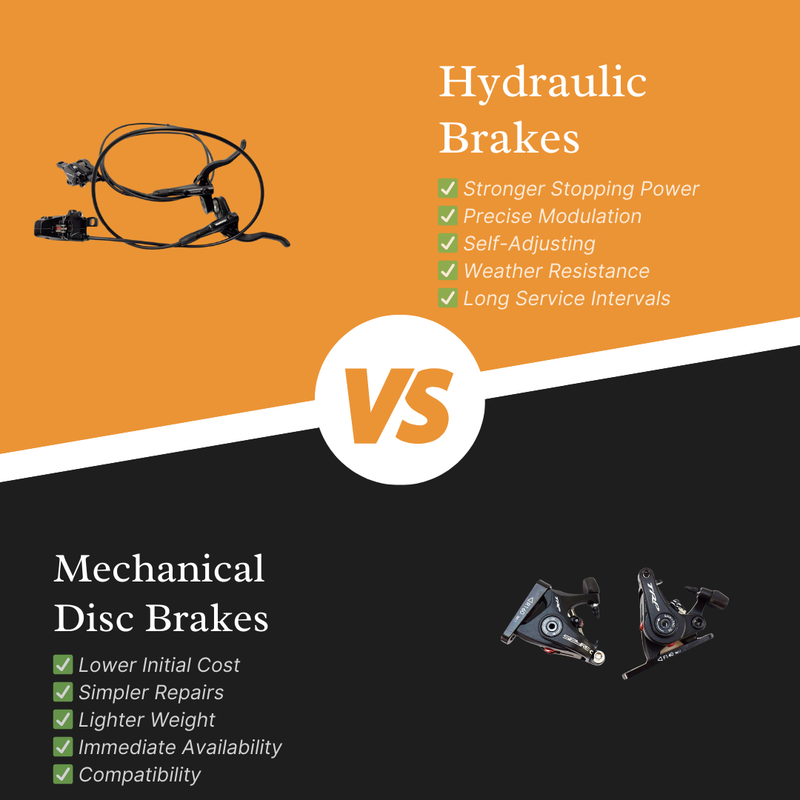
Transitioning from mechanical to hydraulic brakes significantly enhances an e-bike's stopping performance. This guide outlines the precise steps for this upgrade, focusing on a direct, actionable approach.
Video Guide: Electric Bike Brake Upgrade
Watch the video for a visual demonstration of the upgrade process.
Part 1: Disassembly (Removing Existing Components)
Prepare the Workspace: Ensure the e-bike is stable. Gather necessary tools, including Allen wrenches, screwdrivers, and cable cutters.
Remove Handlebar Accessories: Detach the display, existing brake levers, grips, and headlight switch from the handlebars.
Disconnect Cables: Unplug the brake sensor cable. Unfold and unroute any protection cables.
Remove Front Wheel: Loosen and remove the center axle screws from the front wheel. Carefully detach the front wheel from the fork.
Remove Front Brake Components: Detach the mechanical disc brake caliper from the front fork. Remove the old brake rotor from the front wheel hub.
Remove Rear Brake Components: Remove the rear brake screw and the mechanical caliper.
Remove Rear Wheel: Remove the back wheel center axle screws and the chain limit screw. Cut any motor cable ties. Push the back wheel forward to create slack in the chain, then remove the chain and detach the back wheel.
Remove Rear Rotor: Cut the brake cable tie. Remove the old brake rotor from the rear wheel hub.
Part 2: Installation (Mounting New Hydraulic Components)

Install New Rotors:Handle new rotors by their edges; avoid touching the braking surface.Mount the new brake rotors onto both the front and rear wheel hubs. Ensure proper orientation (text facing outwards).Secure rotors with new bolts, torquing to manufacturer specifications.
Install New Tires: Mount and secure tires onto the wheels. Tighten all tire screws.
Install Front Hydraulic Brake:Reinstall the front wheel.Mount the new front hydraulic brake caliper onto the fork. Leave caliper mounting bolts slightly loose for later adjustment.
Install Rear Wheel and Brake:Reinstall the back wheel and chain.Install the chain adjustment screw. Adjust its position for proper chain tension.Tighten the rear tire screws.Plug in the motor cable harness and secure it with ties.Install the rear hydraulic disc brake caliper. Tie the hydraulic disc brake cable to the frame.
Route Hydraulic Hoses: Route hydraulic hoses from calipers up to the handlebar. Secure hoses with zip ties or existing cable guides, ensuring they are routed on the inside of the fork for protection.
Connect Hoses to Levers:Slide necessary fittings (e.g., end cap, threaded nut, olive) onto the hose end.Insert the hose into the hydraulic brake lever.Tighten the connection point securely with an appropriate wrench (e.g., 8mm).
Mount Handlebar Components: Install the new brake handles, instrument display, and headlight switch onto the handlebars in sequence.
Final Cable Connections: Reconnect the brake sensor cable. Tie up all wiring harnesses for a clean and secure setup.
Recommended: Electric Bike Troubleshooting Guide | Macfox Electric Bike
Part 3: Adjustment and Finalization
Caliper Centering:With caliper mounting bolts slightly loose, squeeze and hold the corresponding brake lever firmly.While holding the lever, tighten the caliper mounting bolts. This centers the caliper over the rotor, preventing rubbing and ensuring even pad wear.
Brake Bleeding (If Necessary): If brake levers feel spongy or fluid was lost during installation, perform a brake bleed according to the hydraulic brake manufacturer's instructions.
Hose Length Adjustment (Optional): If hoses are excessively long, cut them to the appropriate length. Note that cutting a hydraulic hose requires installing a new barb.
Bed-In Brakes: This crucial step ensures optimal performance and prevents noise from new brake pads and rotors. Follow manufacturer guidelines for the bedding-in process.
Conclusion
This comprehensive guide details the essential steps for upgrading an e-bike from mechanical to hydraulic disc brakes. Following these instructions ensures a precise installation, leading to enhanced braking performance, improved safety, and a more responsive riding experience.
FAQs
Q: What tools are essential for this brake upgrade?
Required tools include Allen wrenches, screwdrivers, cable cutters, and potentially a brake bleeding kit and a barb insertion tool for hose length adjustments.
Q: Is it necessary to replace the brake rotors during a hydraulic upgrade?
Yes, it is recommended to replace old brake rotors with new ones provided in the hydraulic brake kit to ensure optimal performance and compatibility with new pads. [00:01:19]
Q: How do I determine if my e-bike's cutoff switch is compatible?
Inspect your e-bike's existing brake cutoff switch connectors. Count the pins (typically two or three). The new hydraulic brakes' cutoff switches must match this pin configuration for proper electrical integration.
Q: What is the purpose of "bedding in" new brakes?
Bedding in is a critical process that transfers a thin, even layer of brake pad material onto the rotor surface. This optimizes brake performance, reduces noise, and ensures consistent stopping power.
Q: Can I reuse my existing brake hoses with new hydraulic calipers?
No, mechanical brake cables and housing are not compatible with hydraulic brake systems. Hydraulic brakes require specific hoses designed to contain brake fluid under pressure.


