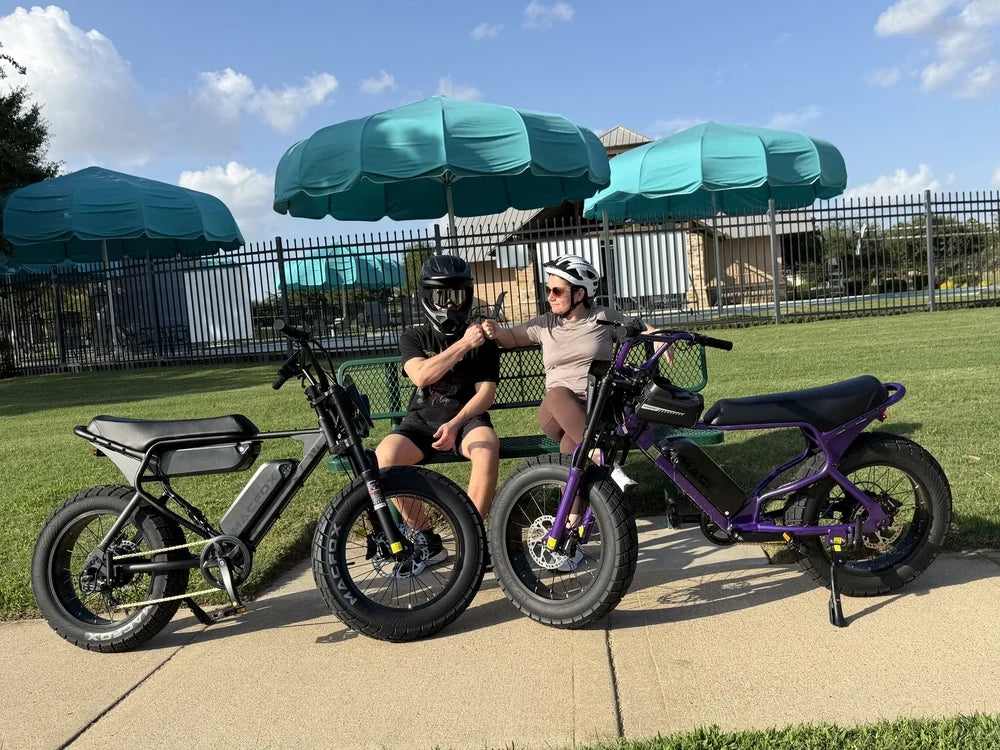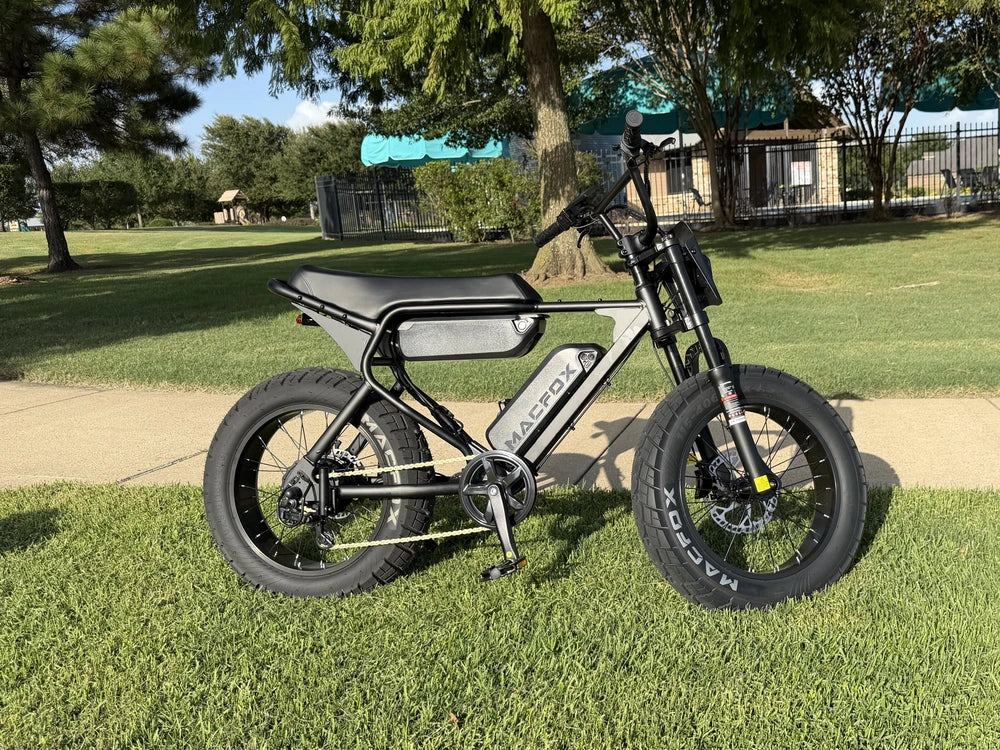

If you want to ride an e-bike more safely, the most important thing is not memorizing a long list of complicated rules. It is first mastering a few key basics: confirm whether you are allowed to ride there, wear a proper helmet and high-visibility gear, do a quick pre-ride check, brake early and smoothly, and stay especially alert in high-risk areas such as intersections, driveway entrances, lane entry and exit points, and damaged road surfaces. These habits are easy to skip on a familiar route, so use them as a repeatable routine instead of saving them for the first ride.
Where You May Be Allowed to Ride
Many riders do not seriously think about this question before they start riding an e-bike. A lot of people assume that if a vehicle looks like a bicycle, it should be allowed on bike lanes, greenways, or campus roads. In reality, it is often not that simple. The first thing you need to understand is the three classes of e-bikes.
| E-Bike Class | Pedal Assist | Throttle | Top Assisted Speed |
|---|---|---|---|
| Class 1 | Yes | No | 20 mph |
| Class 2 | Yes | Yes | 20 mph |
| Class 3 | Yes | No | 28 mph |
The class table is a starting point, not permission for a particular street, sidewalk, bike lane, path, campus, park, or trail. Access still depends on state and local law plus the rule set by the agency or property manager responsible for that route. Verify the current rule for the exact place you plan to ride.
Common access patterns include the following, but posted signs and route-specific rules take priority:
1. City Streets, Bike Lanes, and Some Shared-Use Paths
Many states use a three-class system, but they do not all apply the same access rules. Public streets and bike lanes may allow some or all classes, while sidewalks, shared-use paths, and local trails can have additional class, age, speed, or operating restrictions. Check the current state and local rules instead of assuming that the class label alone settles access.
2. Many Places in National Parks Where Traditional Bicycles Are Allowed
The U.S. National Park Service allows each park superintendent to decide where e-bikes may be used. In general, electric bikes may be allowed on park roads, parking areas, and some roads and trails where traditional bicycles are permitted, but not every park and not every route is automatically open. In addition, congressionally designated wilderness areas are closed to both traditional bikes and e-bikes.
3. Public Land Managed by the BLM
On land managed by the Bureau of Land Management, e-bikes are typically allowed in areas and on routes that are open to OHVs, or off-highway vehicles. Whether they may be used on trails that were originally designated as non-motorized bike trails depends on whether the local BLM office has specifically authorized it. In other words, rules on BLM land depend heavily on the local office and the specific route.
4. Motorized Roads and Motorized Trails in National Forests and Grasslands
Under the current general policy of the U.S. Forest Service, Class 1, 2, and 3 e-bikes may be ridden on motorized roads and motorized trails. However, many non-motorized singletrack trails are not automatically open to e-bikes, so before you go, it is best to check the specific national forest webpage or the local ranger district guidance.

Do Not Automatically Assume You Can Ride in These Places
-
Non-motorized mountain bike trails: In many places, e-bikes are not automatically allowed, especially Class 2 and Class 3 models.
-
Wilderness Areas: These are typically not open to electric bikes.
-
College campuses, HOA communities, and private land: These places often have their own internal rules, which may not match state law. In these cases, you usually need to check with the school, property manager, or landowner.
Get Your Safety Gear Ready
Wear a Proper Helmet
A helmet is the most basic piece of cycling safety gear, but only if it is worn correctly. The helmet should sit level on your head, not tilted too far back. The straps should be secure, but not uncomfortable. If the helmet moves around when you shake your head, it still needs adjustment.
Specifically:
-
When buying a helmet, first check whether it meets the federal CPSC 16 CFR Part 1203 standard. If you ride a faster commuter-style or Class 3 e-bike, you can also look for certifications such as NTA 8776, which is more specifically intended for e-bike riding scenarios.
-
The front edge of the helmet should not sit too high. In most cases, about two finger widths above the eyebrows is more appropriate, so it can actually protect your forehead.
-
After fastening the chin strap, you should be able to fit one or two fingers underneath it. If it is too loose, it will not hold the helmet properly. If it is too tight, it will reduce comfort.
-
Choosing a cycling helmet with ventilation and an adjustment system is much better for daily riding than simply buying any helmet that “fits on your head.”
Wear Clothing That Makes You Easier to See
This does not mean you have to dress in an exaggerated way, but if you wear all dark clothing at night or in low-visibility conditions, other road users really will have a harder time noticing you early enough. Bright colors, contrast, and reflective elements all improve visibility.
Specifically:
-
In the early morning, evening, on cloudy days, or at night, try to avoid wearing all black, dark gray, or navy, since these colors are more likely to blend into the background.
-
For tops, white, fluorescent yellow, bright orange, and bright green are easier to recognize. Your entire outfit does not need to be bright. Making your upper body more visible already helps.
-
If you do not want your everyday outfit to look too “cycling-specific,” you can also improve visibility with a reflective vest, reflective sleeves, reflective ankle bands, or a reflective backpack cover.
-
Reflective elements should not appear only on the front. The sides and rear matter too, because many vehicles approach from behind or from the rear side.
Do a Quick Pre-Ride Check
Five checkpoints:
-
Are the tires underinflated?
-
Are the brakes responsive?
-
Are the front and rear lights working?
-
Is the chain running smoothly?
-
Is there anything loose or making unusual noise?
Before you head out, check the front and rear tire pressure with a gauge and follow the bike and tire guidance. Use the electric bike tire pressure guide for the basic process, and inspect each tire for damage or bulging because pressure and tire condition affect handling and braking. Then roll the bike forward and squeeze the front and rear brakes separately to see whether braking force comes on in time and whether the brake levers feel too loose or need to be pulled too deeply before engagement. Next, turn on the headlight, taillight, and brake light, if equipped, to make sure they operate normally, even if the ride begins in daylight. Then rotate the pedals lightly and listen for any obvious chain noise, skipping, or excessive dryness. If you hear a metal-on-metal sound, stop riding and have the source inspected. Do not apply lubricant to brake rotors or brake pads. Finally, hold the handlebar and gently rock the electric bike to check whether the handlebar, seatpost, pedals, mirrors, or rear rack are loose, and pay attention to whether there are already unusual clicking, scraping, or abnormal motor sounds before you set off.
Lastly, in an open area away from traffic and obstacles, confirm whether the battery charge is sufficient and whether pedal assist or throttle response feels normal. This is a very simple step, but it is worth turning into a fixed habit.
Before riding near other people or traffic, learn exactly when the motor assistance begins and how the throttle, if equipped, responds. When you stop, follow your model's procedure for disabling assistance. Before walking or parking the bike, switch the system off so an accidental pedal or throttle input cannot power the bike. Carry a passenger only when the bike is designed for passengers and has the appropriate seat and foot supports, and follow current local rules.
These checks are best done before every ride, because many small issues only take a few minutes to fix when you catch them downstairs. If you discover them only after you are already on the road, they may become safety problems.
Brake Early, Evenly, and Under Control
There is no universal stopping-distance chart that makes one distance safe for every e-bike at a given speed. Stopping space changes with rider and cargo weight, brake and tire condition, tire pressure, reaction time, slope, visibility, and whether the surface is dry, wet, painted, or covered with loose material.
Before riding in traffic, practice smooth, controlled stops in a traffic-free area so you know how the bike responds. Brake earlier and reduce speed further when traction or visibility is worse, when the bike is carrying more weight, or when the route goes downhill. If braking feels weak, uneven, noisy, or different from normal, stop and inspect the bike instead of compensating by guessing at a longer distance.
- Begin slowing before an intersection, driveway, turn, or path crossing—not after a conflict enters your line.
- Use a lower assist level in crowded, shared, or unfamiliar areas so acceleration remains easy to manage.
- Ride at a speed that leaves enough visible space and time to respond; if a corner, vehicle, vegetation, or poor lighting blocks your view, slow down before entering the hidden area.

Slow Down Before Conflict Areas
Speed matters most where another road user may cross your path or where you cannot yet see what is ahead. Reduce assistance and slow down before entering the conflict area. Predictability and control are more useful than holding the highest assisted speed.
Intersections, Turning Paths, Driveways, and Parking-Lot Exits
Look early for vehicles that may turn, reverse, or enter from a side street, alley, garage, or driveway. A vehicle may pass you and then turn across your path, or move through a gap in stopped traffic. Do not assume a driver has seen you, even when you have the right of way. Slow before the crossing point, keep a predictable line, and be prepared to stop.
Parked Cars, Door Zones, and Lane Changes
Where space and local rules allow, avoid riding so close to parked cars that an opening door would leave no room to respond. Watch for occupied vehicles, brake lights, wheels turning, and vehicles pulling away. Before changing lane position or turning, look over your shoulder, signal, and move only when the path is clear.
Large Vehicles and Distraction
Trucks and buses have large blind spots and need extra room to turn. If a large vehicle is stopped at an intersection or preparing to turn right, stay out of the space between it and the curb. Keep your phone away, and do not use headphones or anything else that blocks warning sounds or takes your eyes, ears, or attention away from traffic.
Shared Paths, Blind Corners, and Unfamiliar Routes
On a shared path, around a blind bend, or on a route you do not know, lower your assist level and enter conservatively. Give pedestrians and slower riders time and space, follow local passing and yielding rules, and wait until you have a clear view before increasing speed.
Hazards in the Road Surface Itself
Potholes, utility covers, loose gravel, slick painted markings, fallen leaves, uneven pavement, and drainage grates can reduce traction or force a line change. Look farther ahead instead of only at the front wheel. If the surface is unfamiliar or visibility is limited, slow first so you can make a gradual correction instead of a sudden steering or braking move.
Conclusion
The safety techniques that truly work are not complicated, but they must be carried out consistently.
Check where you are allowed to ride, wear your helmet properly, inspect the bike before you leave, stay visible, slow before conflict areas, and choose a speed that fits what you can see and control. These habits reduce preventable risk, but they do not replace current local rules, route judgment, or maintenance.
FAQ
How much braking distance should I leave on an e-bike?
There is no single safe number based on speed alone. Leave more time and space when visibility or traction is worse, when the bike carries more weight, or when riding downhill, and practice controlled stopping away from traffic so you know how your bike responds.
What safety tips should beginners focus on first?
Start with the basics: wear a properly fitting helmet, check your tires and brakes, ride with traffic, stay visible, and avoid distractions. For beginners, control and predictability matter more than speed.
Is it safe to ride in the city?
City riding can be manageable when the route, traffic, visibility, bike condition, and rider skills are a good match. Intersections, parked cars, merging lanes, and changing traffic conditions require extra attention and may justify a lower-conflict route.
How does e-bike safety differ from a regular bike?
The main differences are speed and weight. E-bikes are generally faster and heavier, so timing your braking, controlling turns, and managing pedal-assist levels require extra care.
Is it safer to ride on the sidewalk?
It depends on local laws and road conditions. In many areas, sidewalks aren’t necessarily safer—they can create conflicts with pedestrians and driveway traffic. Always check local regulations first.