
A rear-mounted spare tire can block a hitch rack before the rack ever reaches the receiver pin hole. Vehicle cargo volume and receiver size will not reveal that conflict. Measure from the hitch's actual locating point to the spare tire's outermost surface, then compare that distance with the rack's fit diagram.
Measure From the Hitch Pin Hole

Park on level ground and find the receiver pin hole used to locate the rack shank. Measure horizontally from the center of that hole to the farthest point of the spare tire, tire cover, mounting hardware, or rear door component that occupies the rack's path.
Also record the pin-hole height from the ground. Do not measure only from the receiver opening or bumper edge; rack diagrams commonly use the pin hole because it fixes the installed position.
Hold the tape parallel to the vehicle centerline and repeat the reading from both sides if the spare is offset. Photograph the tape endpoints so a rack maker can see exactly which surfaces produced the number.
Check Carrying and Folded Positions Separately
Compare your measurements with the exact rack model's dimensions in its carrying, folded, and tilted positions. A rack may clear the spare while horizontal but strike it when folded toward the vehicle. A tilt feature may also be unavailable once a bike or another vehicle part blocks its path.
Check the rear door or tailgate through every movement you intend to use. Do not assume that clearing the tire means the door can open.
Leave the rack unloaded for this motion check and keep fingers out of hinges. If the manufacturer's diagram provides separate dimensions for carrying and storage, use each one only for its named state.
Add the Bike's Outermost Points
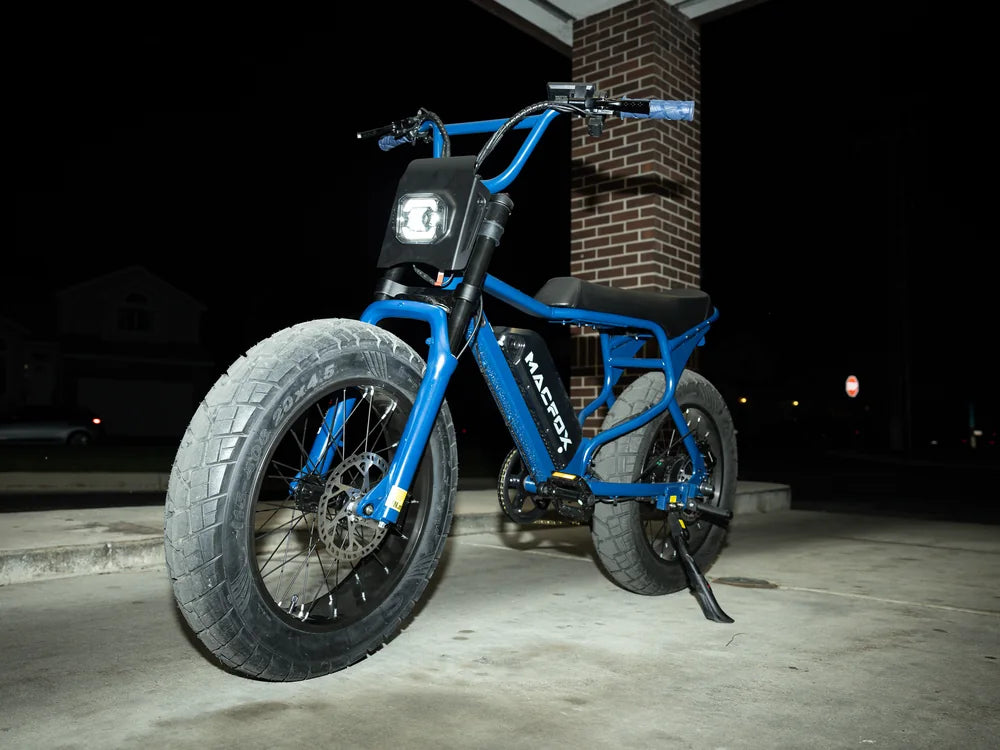
After the empty-rack clearance passes, map the nearest bike's handlebar, pedal, fender, basket, and tire. The rack frame can clear the spare while the loaded electric bike still contacts it.
Allow for the tray position and approved wheelbase adjustment actually used. Do not rotate a handlebar, reverse a fork, or offset the bike unless both the rack and bike instructions permit that transport condition.
Confirm ground clearance and all required lights and plates as well. Turn handlebars or remove a pedal only when the bike and rack instructions allow that transport condition; a workaround should not hide another interference point.
Treat an Extender as a New Configuration
If the rack is too close, do not add an extender based only on the missing distance. An extender changes leverage, load limits, approved rack combinations, and folded geometry. The e-bike hitch rack guide explains how to recheck that full chain.
Use the rack only when the pin-hole measurement, all rack positions, and the loaded bike clear the spare without improvised spacing. A precise starting measurement prevents buying hardware that solves one contact point while creating another.