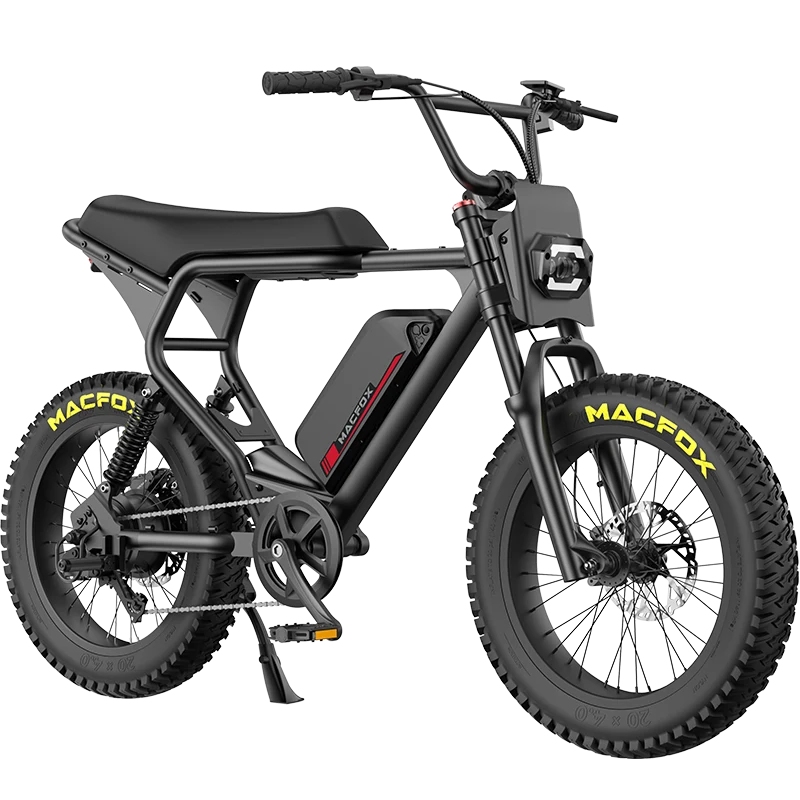
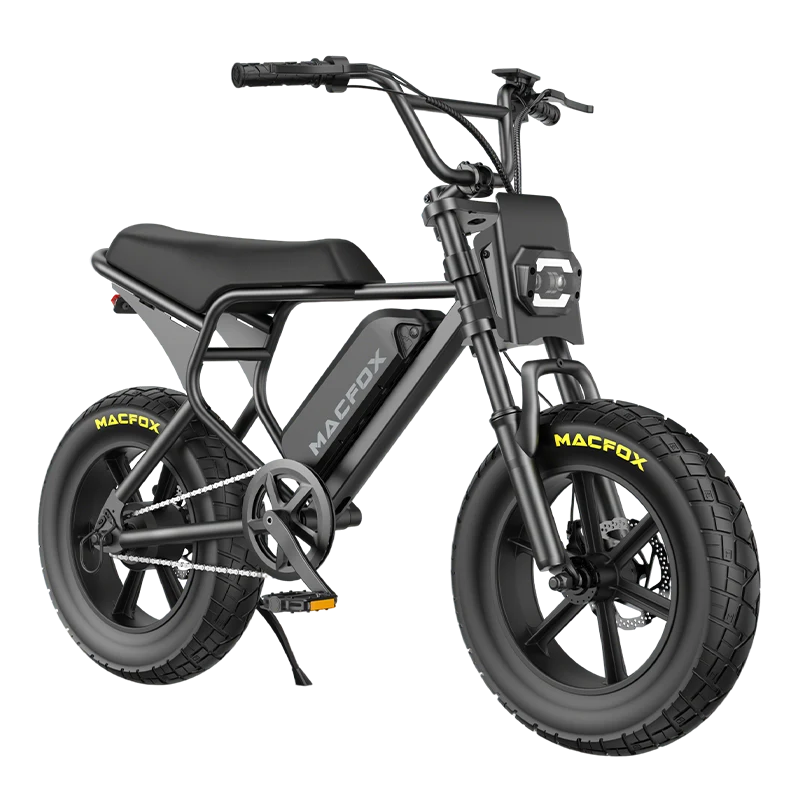
Welcome to the exciting world of electric bikes! If you've just received your brand new Macfox electric bike, you're probably eager to hit the road. But first, let's get your bike assembled and ready for action. This comprehensive guide will take you step by step through the installation process.
1. Setting Up the Handlebars
Materials Needed:
- Allen wrenches
- Handlebar grips (included)
Steps:
- Unbox the Handlebars: Remove the handlebars from their protective wrapping.
- Position the Handlebars: Align the handlebars with the front stem.
- Secure in Place: Using the Allen wrench, tighten the screws on the stem to secure the handlebars.
- Attach the Grips: Slide the handlebar grips onto each end and ensure they're firmly in place.
2. Mounting the Tires
Materials Needed:
- Air pump
- Wrench
Steps:
- Check Tire Pressure: Before mounting, ensure the tires are inflated to the recommended PSI.
- Align with Frame: Position the tires so that the treads are facing forward.
- Secure the Tires: Using the wrench, tighten the bolts on both sides of the wheel hub.
- Double-Check Alignment: Ensure that the tires spin freely without touching the frame.
3. Installing the Headlights
Materials Needed:
- Phillips screwdriver
- Headlight bracket (included)
Steps:
- Position the Bracket: Place the headlight bracket on the front handlebars or fork, depending on your model.
- Secure the Bracket: Using the screwdriver, fasten the screws to hold the bracket in place.
- Attach the Headlight: Clip the headlight onto the bracket and ensure it's tight and stable.
- Test the Light: Turn on the headlight to ensure it's functioning properly.
4. Fixing the Pedals
Materials Needed:
- Pedal wrench
- Grease (optional)
Steps:
- Identify Left and Right Pedals: The pedals are usually marked "L" for left and "R" for right.
- Apply Grease (Optional): For smoother rotation, you can apply a small amount of grease to the pedal threads.
- Attach the Pedals: Screw each pedal into its respective side. Ensure they're tightly secured.
- Test Rotation: Spin the pedals to make sure they rotate freely without any hitches.
By following the steps above, you'll have your Macfox electric bike assembled and ready for the road in no time. Remember to always wear safety gear and familiarize yourself with the bike's controls before your first ride.
Macfox X2
$1,899.00 – $2,167.00Macfox X1S
$1,277.00 – $1,398.00Conclusion
Setting up your Macfox electric bike is a straightforward process. With the right tools and a bit of patience, you'll be riding in style in no time. Always refer to the user manual for any model-specific guidelines and maintenance tips to ensure the longevity of your electric bike.
Recommended reading:
FAQs
Q1: How often should I check the tire pressure?
It's recommended to check the tire pressure every two weeks or before long rides.
Q2: Can I customize the position of the headlights?
Yes, the headlight bracket allows for slight adjustments. Ensure it's positioned to illuminate the path ahead without blinding oncoming traffic.
Q3: Are the pedals interchangeable?
No, the pedals are side-specific. Always ensure the "L" pedal is on the left and the "R" pedal is on the right.


3 thoughts on “How to Install the Macfox Electric Bike You Received”
Steeve
J’ai un Mac FOX et je les achèter sur un cite de revente et j’ai pas de service j’aimerais que quelqu’un de votre compagnie me contacte
Jeremy Jablonowski
I cut my break sensors cuz I thought I didn’t need them but now the bikes acting funny I need to get a new wire harness I don’t know which one to get I have a macfox x1s dual battery
Michael yurkus
is there a wire harness connection for dual batteries?