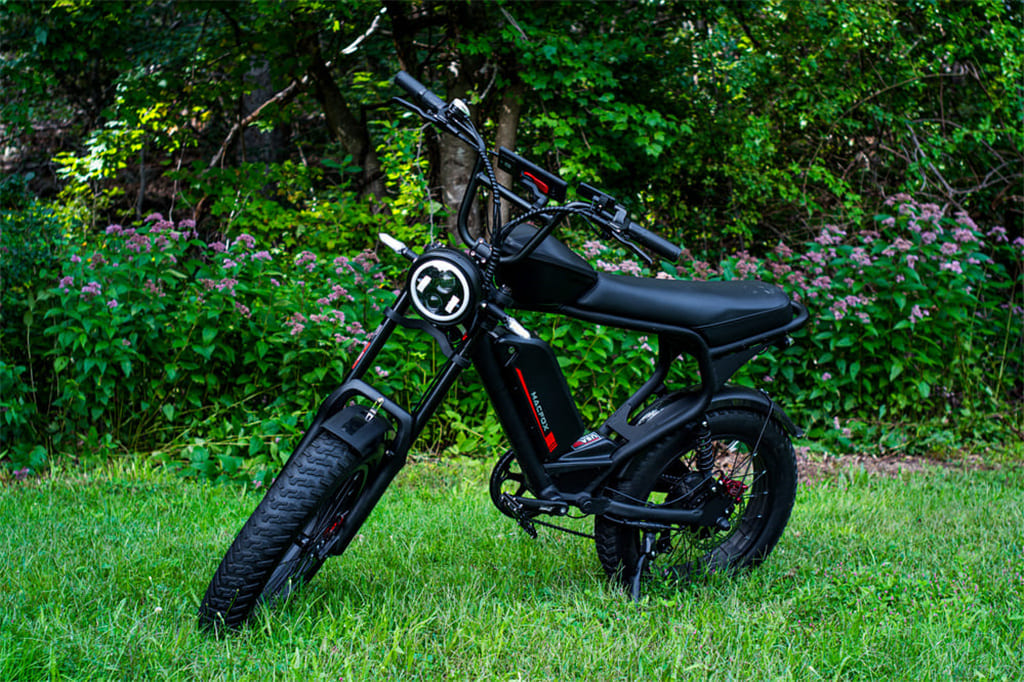
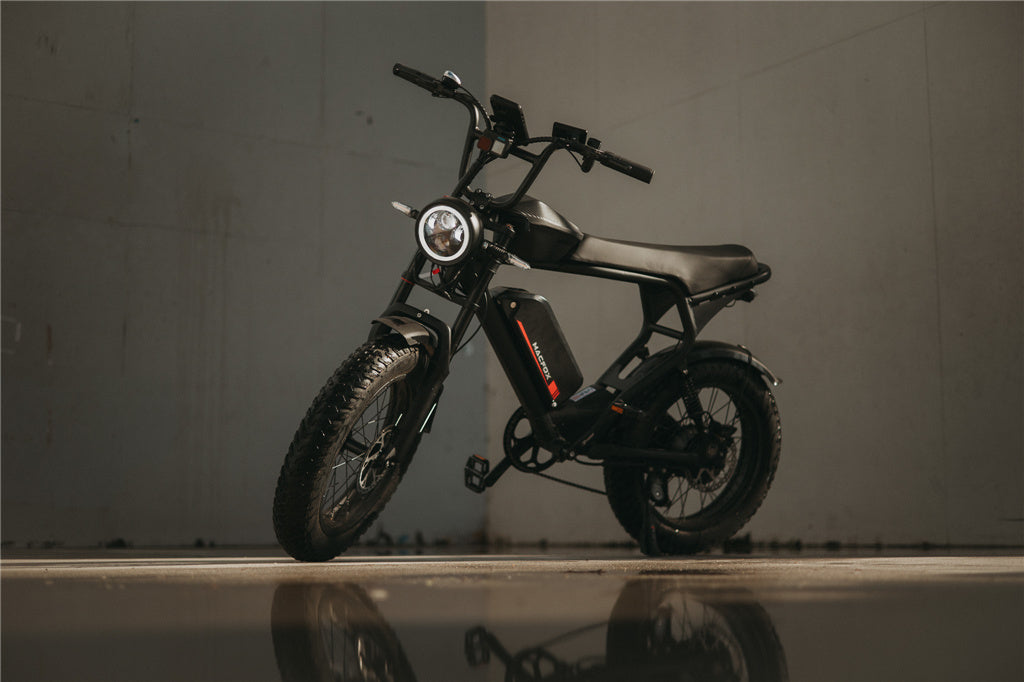
Electric mountain bikes (e-bikes) have revolutionized our approach to off-road trails. Boasting an electric motor, riders can cover more terrain quickly and tackle more challenging terrain than ever. But this increased power significantly strains mechanical components like the derailleur, necessitating meticulous tuning so all parts operate at maximum potential. This guide will walk you through tuning your electric mountain bike's derailleur for optimal functioning.
Understanding the Basics of Your Electric Mountain Bike's Derailleur

Before beginning to tune an electric mountain bike, it's essential to understand what a derailleur is and its function within that environment. Simply put, a derailleur is a device used to move the chain smoothly from gear to gear while adapting to different terrains or inclines.
The Role of the Derailleur in Electric Mountain Biking
Electric mountain bikes typically feature strong derailleurs that can withstand the extra torque generated by electric motors, making for efficient propulsion systems that rely on effective derailleur systems for effective propulsion.
Key Components of the Derailleur
- Cage: The part of the derailleur that holds the chain.
- Jockey Wheels: These guide the chain and keep tension.
- Limit Screws: These prevent the chain from shifting too far and dropping off.
Step-by-Step Guide to Tuning Your Derailleur
Tuning the derailleur on your electric mountain bike is crucial to ensuring smooth and reliable shifting performance. Though the process may appear intimidating initially, it should become manageable quickly with proper steps taken. Let's detail each phase to help make this task less daunting!
Step 1: Cleaning and Inspection
Before making adjustments, ensure the derailleur system is free of debris such as dirt or mud. Dirt or mud could significantly diminish performance, leading to poor shifting and increased wear on components.
-
Cleaning: Use a soft brush and degreaser to carefully cleanse your derailleur, paying particular attention to jockey wheels and chains. Remove any build-up of dirt that might obstruct the movement of the chain or mechanics of the derailleur.
-
Inspection: Visually inspect the derailleur for signs of wear or damage. Key areas to examine include its hanger (which should be straight), jockey wheels (check for worn teeth), and chain (look for stretched links). Make sure all bolts and fastenings are secure.
Step 2: Adjusting the Limit Screws
Limit screws are critical in keeping the chain from falling off its gears or becoming trapped between the cassette and wheel hub. Improper settings could result in poor shifting or even damage to your bike.
-
High Limit Screw (H): This screw controls how far a derailleur can move toward its smallest cog. Once your bike is positioned, you can manually turn the pedals, select and shift to your smallest cog and adjust H so the chain runs without noise or risk of jumping off.
-
Low Limit Screw (L): This screw determines movement towards the largest cog. Shift to this cog and adjust the L screw so the chain doesn't overshoot and rub against your derailleur cage.
Step 3: Setting the Cable Tension
Correct cable tension is critical to smooth and responsive shifting. Too little tension means the derailleur won't transition smoothly between gears; too much may overshoot its intended gear altogether.
- Adjusting Tension: Locate the barrel adjuster on either your shifter or derailleur and shift into middle gear. Pedal, then turn your barrel adjuster clockwise or counterclockwise, depending on whether you wish to increase or decrease tension. Make small tweaks as necessary until your desired shift response has been met.
Step 4: Optimizing Performance
Once major adjustments are in place, fine-tuning allows you to perfect further shifting across all gears.
-
Checking Shifts: As you turn the pedals, shift through all gears while listening and watching for any signs of hesitation or noise when moving. Minor adjustments with the barrel adjuster usually resolve most issues quickly and efficiently.
-
Synchronizing Front and Rear: If your e-bike features a front derailleur, ensure it's appropriately adjusted so gear shifting across both gears is smooth. Use limit screws and cable tensioning tools as necessary for adjustment.
Step 5: Test Ride
Once adjustments have been completed, it's essential to test-ride your bike in an appropriate area to identify any hidden issues that were not apparent when sitting still. Doing this may reveal any concerns that were not evident prior to riding the bike.
-
Real-World Testing: The keys to successful real-world testing are navigating different terrains, using all gears, and paying close attention to how your bike shifts under load; what works in the stand may not last on the trail.
-
Final Adjustments: Based on your riding experience, additional adjustments may be necessary to get optimal performance from new cables; it is natural for them to stretch after initial use, and this step should be completed on time.
Related Reading: Can You Take an E-Bike on a Plane? A Guide
Common Issues and Troubleshooting
Even with a properly adjusted derailleur, issues may still arise which affect the performance of your electric mountain bike. Being aware of and rectifying common matters is key to having a smoother ride experience; here are some typical problems and how they may be addressed:
Skipping Gears or Slipping
If your bicycle begins skipping gears or the chain slips, this could often be traced back to one or more specific causes:
-
Worn Chain or Cogs: Over time, chains and cogs can deteriorate quickly under the additional load of an electric motor. Check for stretched links in your chain and worn teeth on any cogs to make sure everything remains shifting efficiently. Replacing worn parts as soon as they appear is critical to maintaining performance levels in shifting.
-
Improper Cable Tension: Readjust the cable tension according to the tuning section's directions; even a minor stretch in the cable can lead to skipping issues.
-
Misaligning Derailleur: Before moving forward with this issue, ensure the derailleur hanger is undamaged, and its movement aligns perfectly with gear cogs over its entire range of motion.
Chain Noise
Noisy chains can ruin the riding experience and indicate potential problems:
-
Lack of Lubrication: E-bike drivetrains often experience increased strain. Apply a suitable bike lubricant while rotating the pedals to ensure even distribution and long-term performance.
-
Derailleur Misalignment: Use limit screws to adjust and readjust alignment if misalignment exists, as this could cause the chain to rub against the derailleur cage or other parts and needlessly wear them down over time.
Difficulty Shifting
Difficult or unresponsive shifting usually indicates several potential issues:
-
Dirty or Seized Components: Dirt and grime build-up in wet or muddy conditions can clog a derailleur's moving parts, necessitating its careful inspection, cleaning, lubrication, and re-lubrication.
-
Stretched or Damaged Cable: Over time, cables may stretch or fray. Inspect the cable for damage and replace it if necessary. Once done, its tension must be adjusted, as it may initially stretch after installation.
Maintaining Your Tuned Derailleur
Regular maintenance is crucial to keeping your tuned derailleur performing optimally over time. Here's how you can maintain its condition on an electric mountain bike:
Regular Cleaning and Lubrication
Cleaning: After rides in dirty or wet conditions, thoroughly clean your derailleur and chain by brushing and using a degreaser to loosen dirt from moving parts of both units.
Lubrication: To ensure smooth shifting and long-term reliability of the derailleur chain and pivot points, use appropriate lubricants (drier ones for dusty conditions and wetter ones in humid climates) according to your riding conditions and climate conditions.

Periodic Adjustments
- Check Adjustments Regularly: Even with minimal wear, vibrations and impacts can cause settings to shift. Regularly check and adjust the limit screws and cable tension to ensure that everything remains in tune.
- Inspect for Wear: Regularly inspect the chain, cables, and cogs for signs of wear. Replace these components as needed to maintain optimal performance and safety.
Understanding common issues and caring for your derailleur regularly ensures that your electric mountain bike remains reliable and prepared to tackle any trail challenges. This can enhance the riding experience and significantly extend its lifespan.
Conclusion
Tuning the derailleur of an electric mountain bike is a vital skill that enhances both your riding experience and the bike's condition. By following this guide, you can ensure your e-bike is always prepared to take on whatever trail throws its way. With every adjustment, you not only become more in tune with its mechanics but also improve overall biking performance.
FAQs
How often should I tune my electric mountain bike's derailleur?
Regular derailleur tuning checks should be conducted, particularly after particularly rough rides or in muddy or wet environments where frequent riding conditions could strain the derailleur's tuning mechanism.
Can I quickly tune an electric mountain bike's derailleur myself?
Yes, most riders can learn how to tune their bike's derailleur with the appropriate tools and patience. This guide contains all the necessary steps.
What tools will I need to tune a derailleur?
Your essential toolkit for setting limit screws includes the following:
- Hex keys.
- A screwdriver for tightening them down securely.
- A cable puller could be used to adjust the tension in the cable system.


